Hairstyles
-
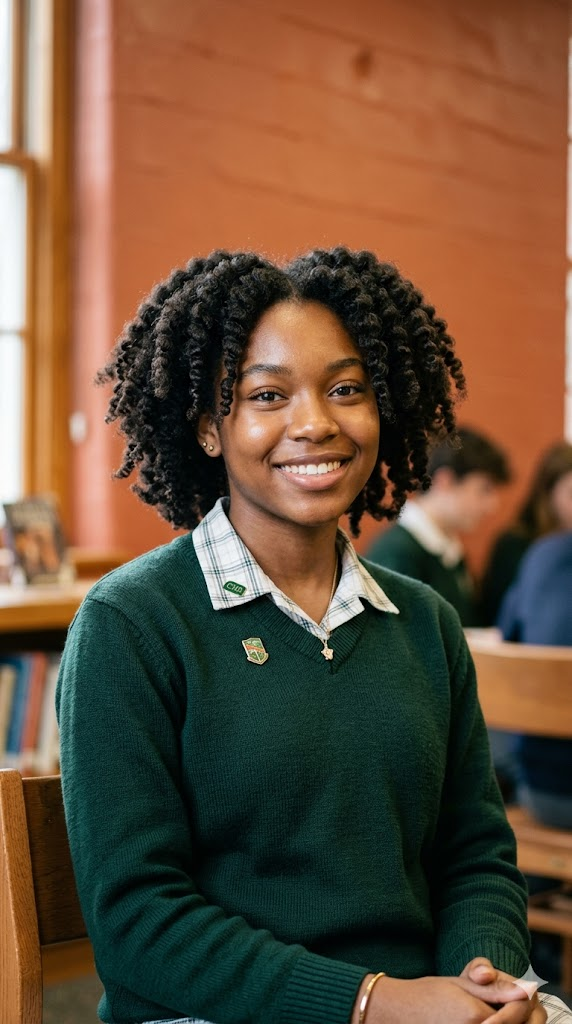
2026 Trending Curly Hairstyles for School
-
Low Taper Fade vs. Drop Fade – What's the Difference (And Which Is Right for You)
-
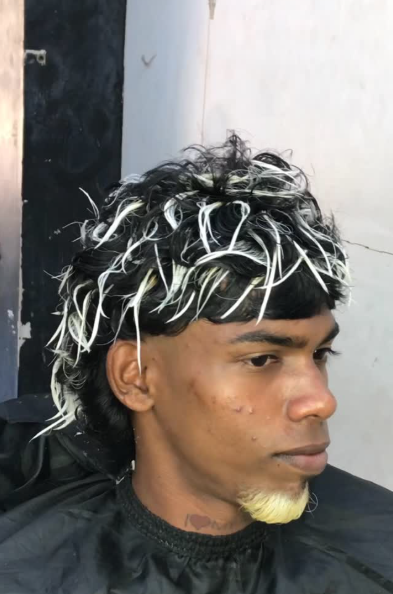
25 Worst Men's Haircuts of 2026 (Barber Fails That Went Viral)
-
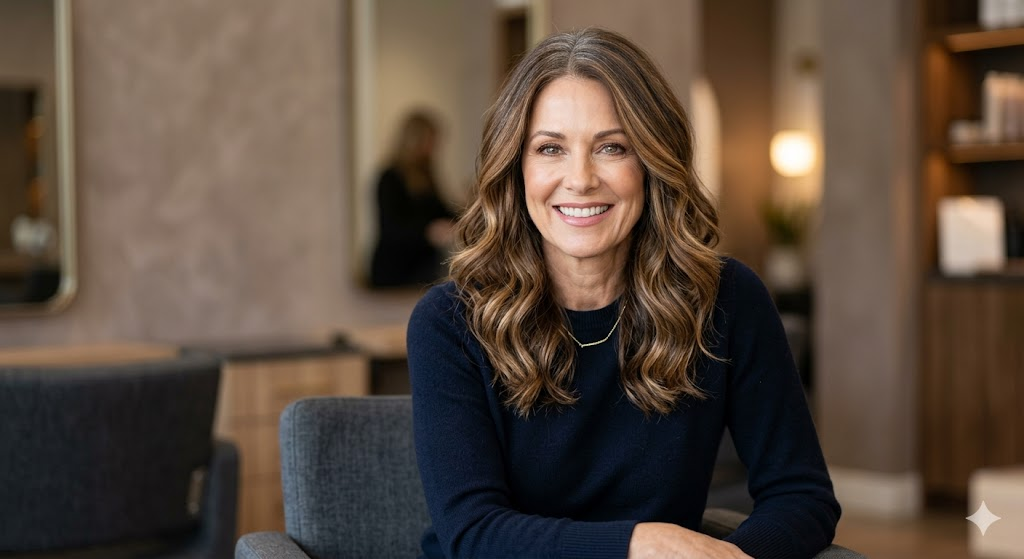
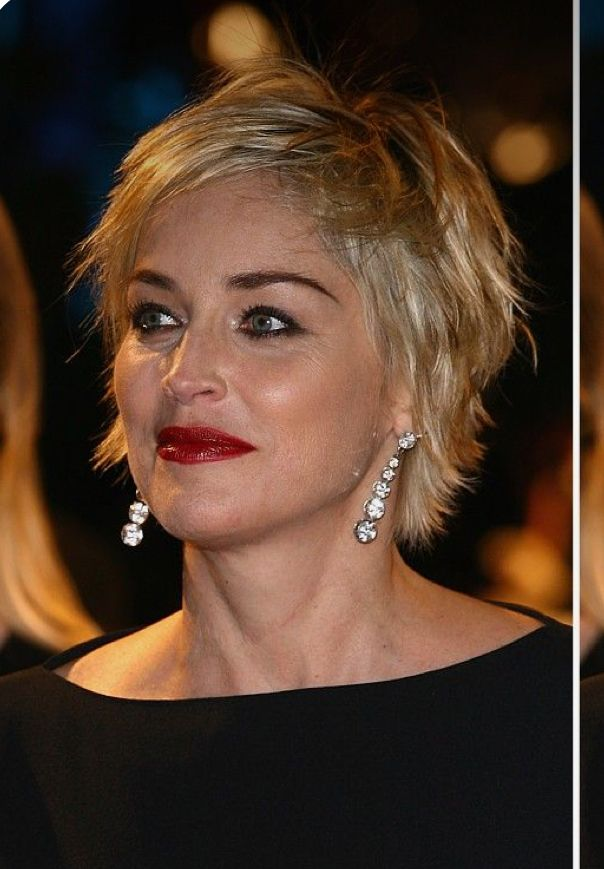
Balayage vs. Highlights for Gray Hair: What's Better for Women Over 50?
-
The Modern Mullet for Women Over 50: Bold, Edgy, and Surprisingly Sophisticated
-
How to Make Your Hair Look Thicker Over 50: Cuts, Products, Tricks
-
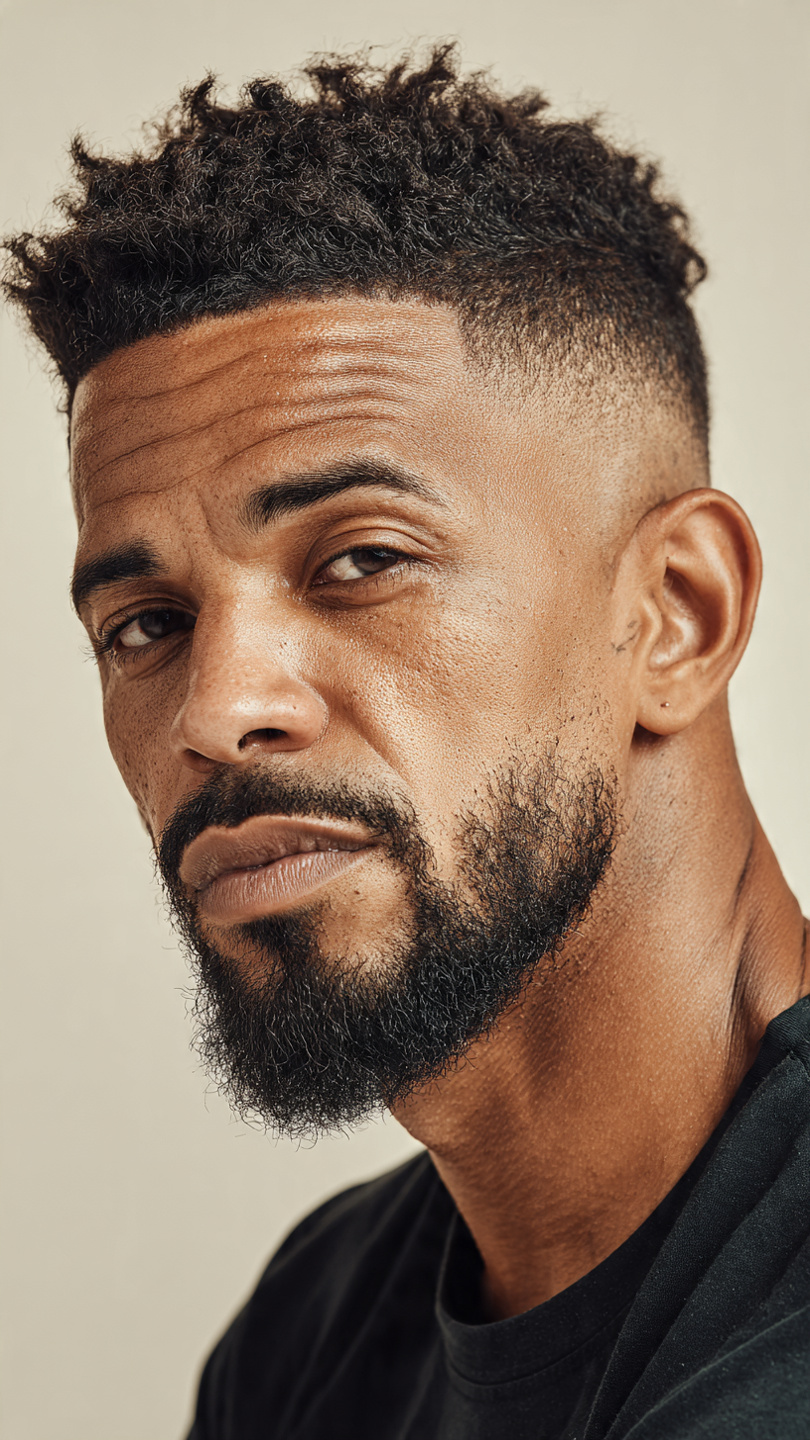
The Grown-Out Shag for Men: Effortless Texture and Laid-Back Style
-
2026 Trending Kinky Coily Hairstyles That Celebrate Natural Texture
-
The Grade 2 Buzzcut for Men: The Perfect Balance of Clean and Casual
-
18 4C Hairstyles Ideas That Celebrate Natural Texture and Versatility
-
Women’s Haircuts 2026: The Ultimate Guide to the Year’s Most Wearable Trends
-
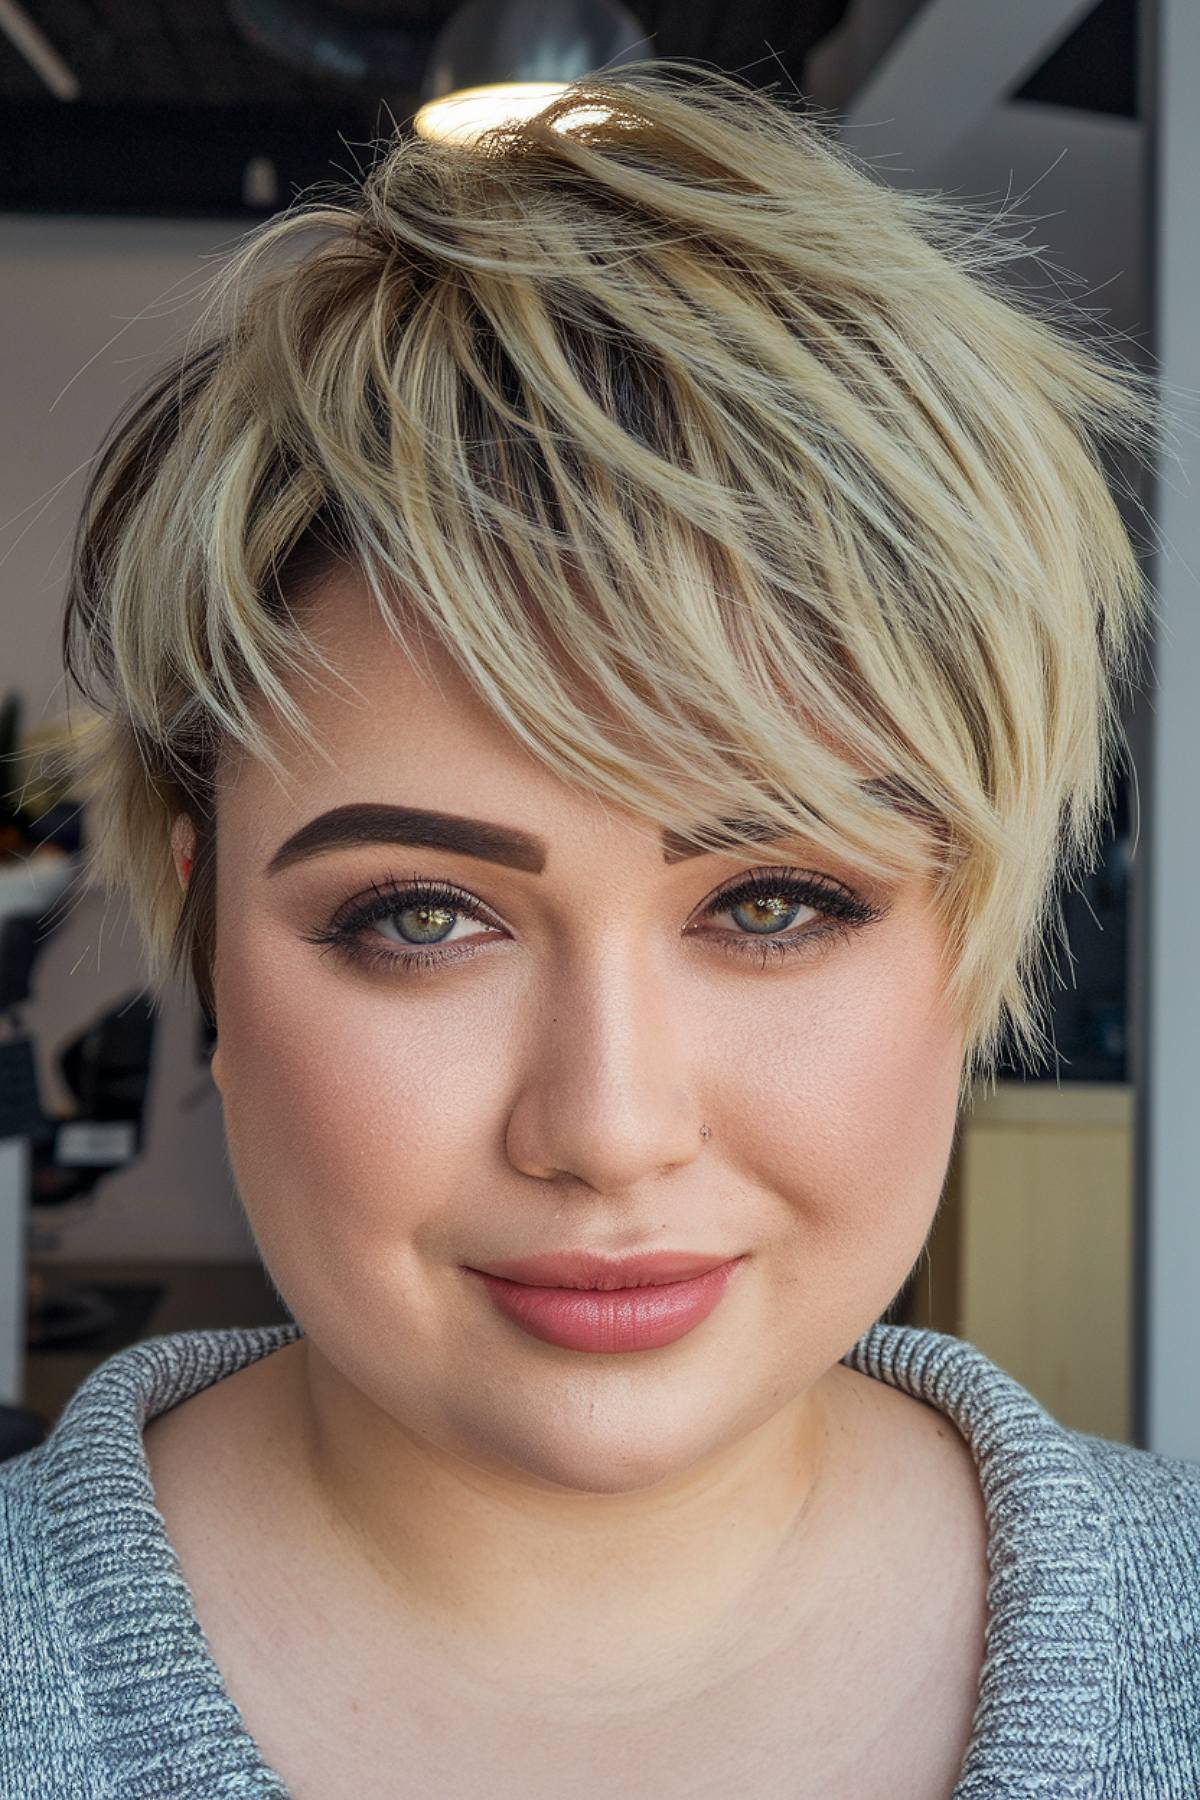
25 Short Haircuts for Plus Size Women Over 50: Flattering & Slimming
-
15 Men's Haircuts for Round Face Over 50 That Add Definition and Structure
-
12 Haircuts for Thinning Hair Men Over 50 That Create Density and Confidence
-
10 Best Haircuts for Round Faces Over 50 That Actually Slim
-
10 Curly Haircuts for Men That Embrace Texture and Elevate Style
-
18 Medium Length Hairstyles for Thick Hair That Tame Bulk and Create Shape
-
19 Layered Hairstyles for Women Over 50 with Thin Hair That Create Instant Density and Movement
-
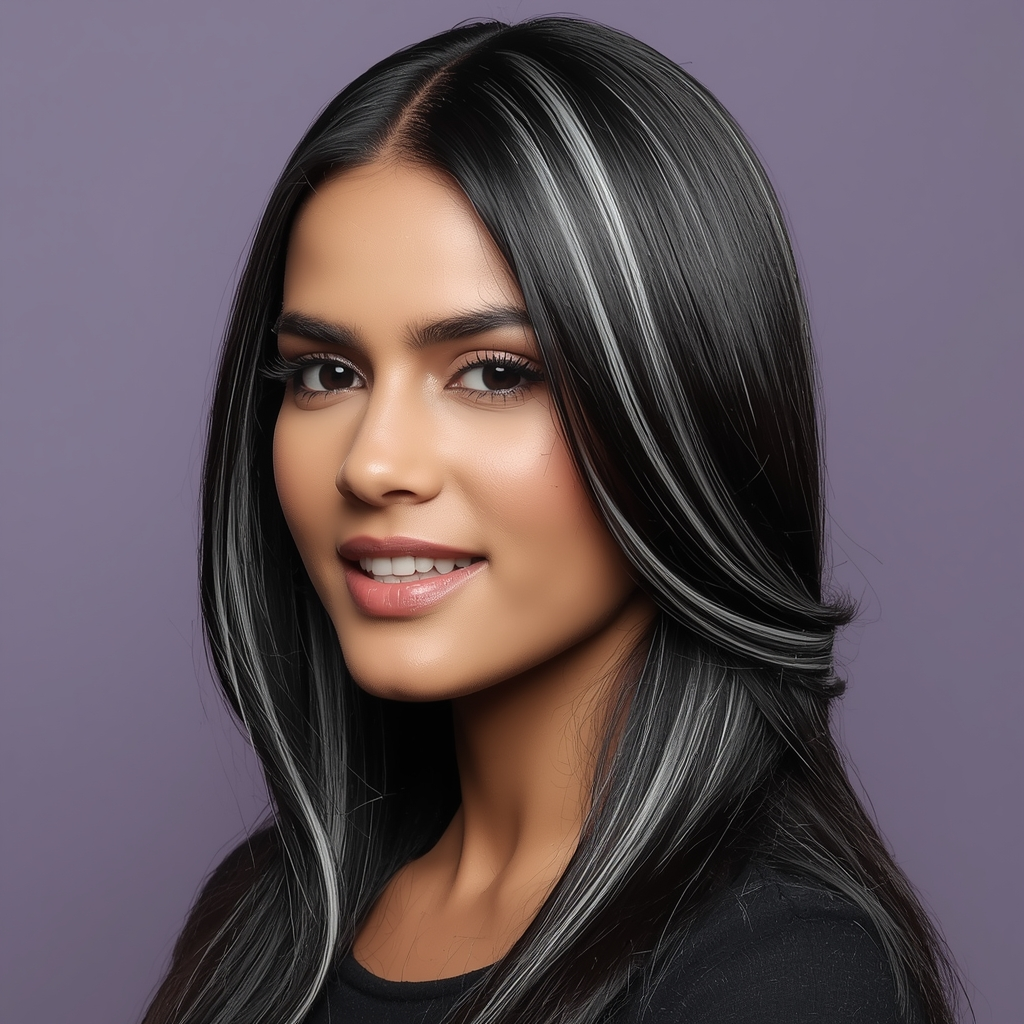
16 Gray Blending Hair Highlights in Ash Blonde for Women That Create Cool, Seamless Silver Transitions
-
14 Wash and Wear Haircuts for Women Over 60 That Respect Your Morning
-
17 Choppy Bob Hairstyles for Fine Hair That Create Instant Volume and Movement
-
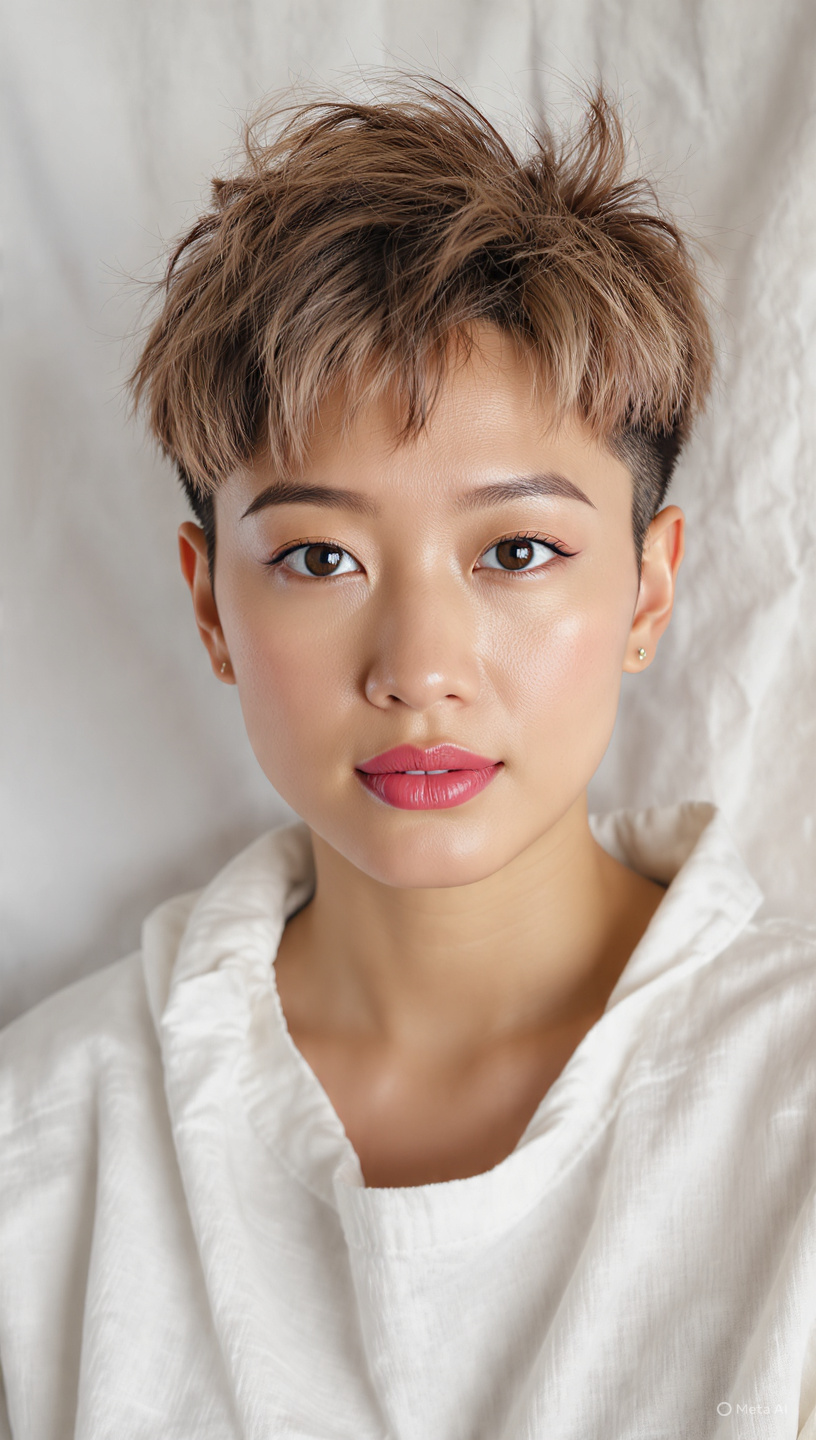
20 Pixie Cut with Shaved Sides That Redefine Bold and Edgy Style
-
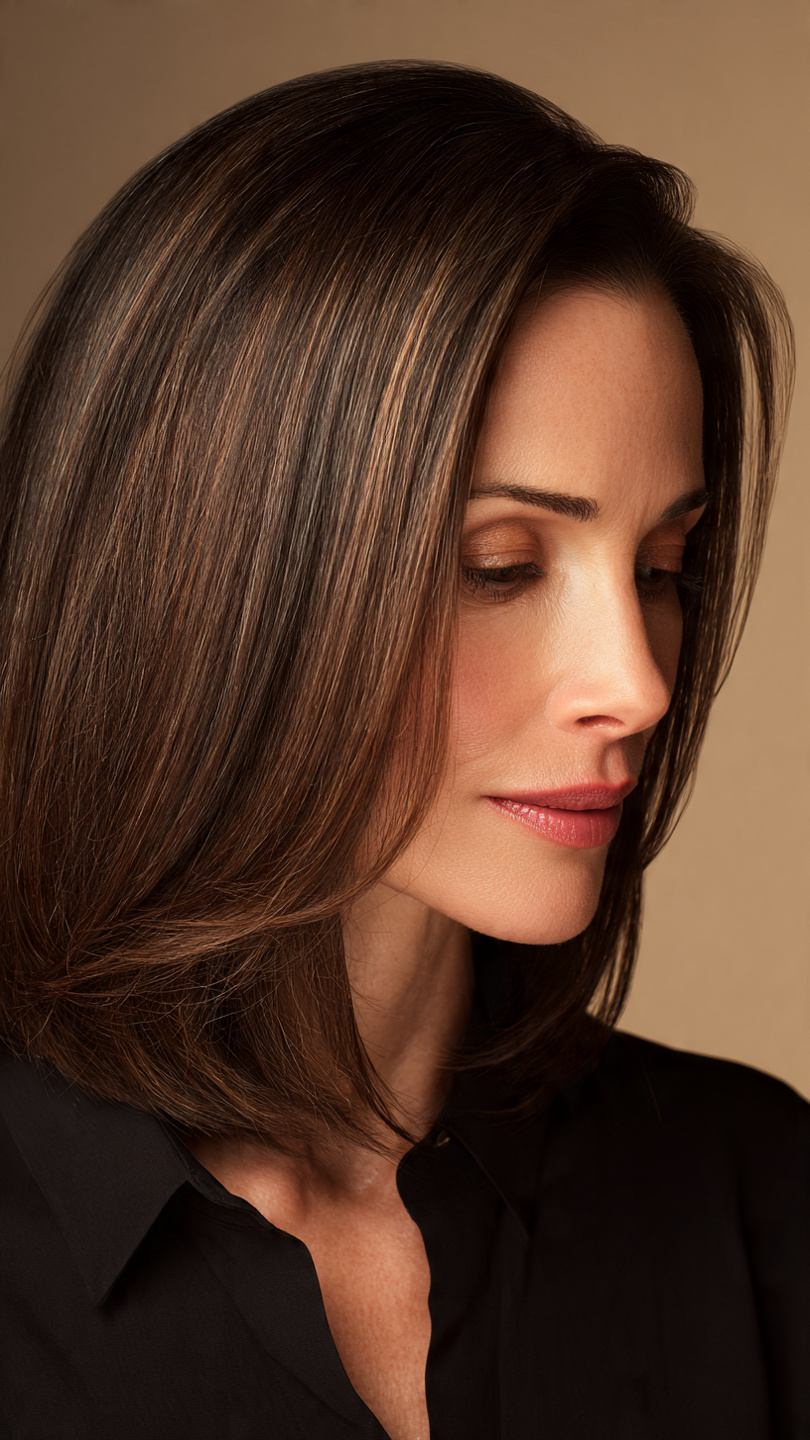
15 Grey Blending Highlights for Brunette Women That Embrace Silver with Style
-
17 Low Maintenance Hairstyles for Women Over 50 That Save Time Without Sacrificing Style
-
17 Medium Length Hairstyles for Women Over 40 That Bring Modern Volume and Effortless Style
-
16 Medium Hairstyles for Women Over 50 That Bring Fresh Energy and Modern Volume
-
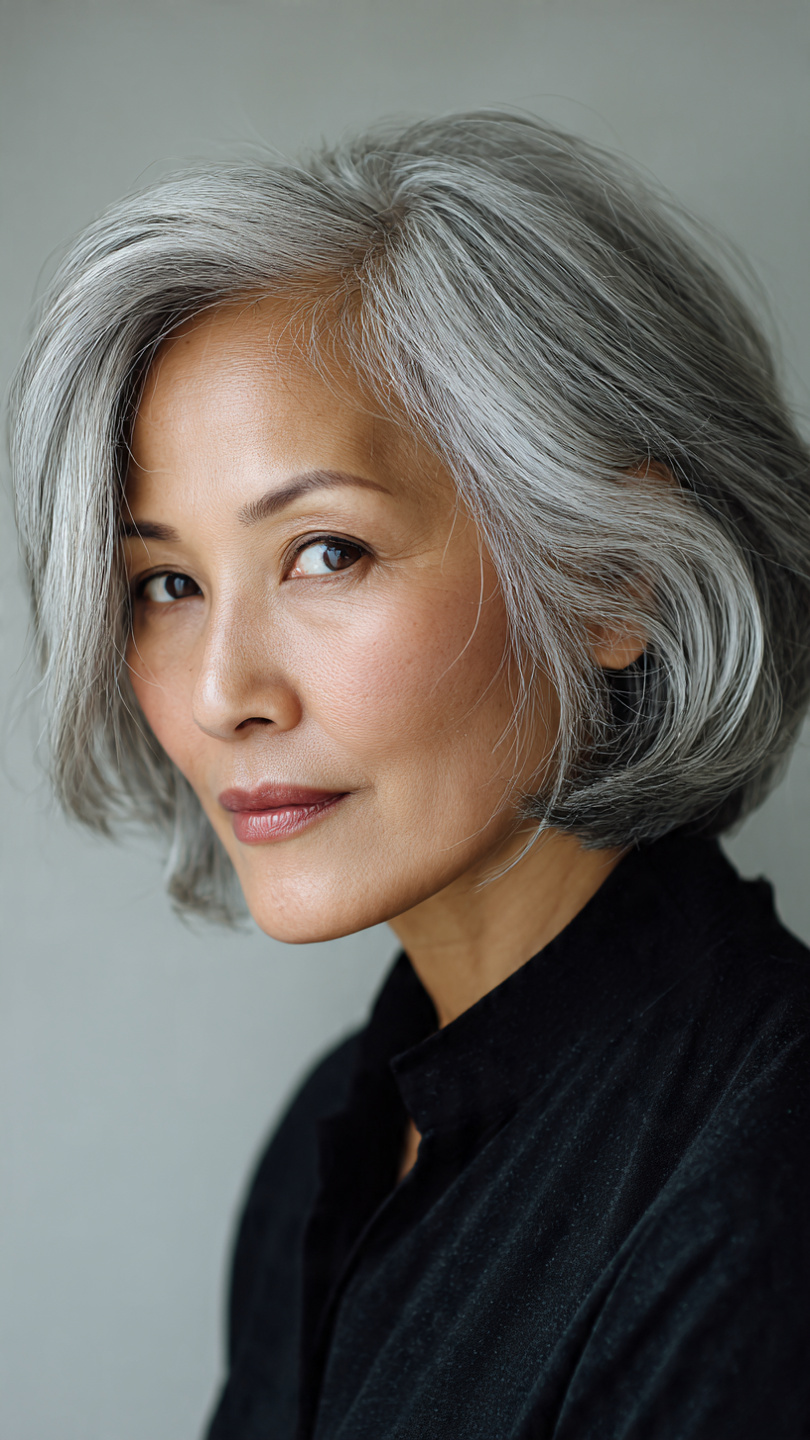
9 Gray Hair Highlights That Enhance Your Natural Silver Strands
-
11 Wash and Wear Hairstyles for Older Women That Save Time Without Sacrificing Style
-
9 Medium Length Hairstyles for Older Women That Balance Volume, Softness, and Easy Styling
-
11 Short Layered Bob with Bangs Styles That Frame Your Face and Fake Fullness
-
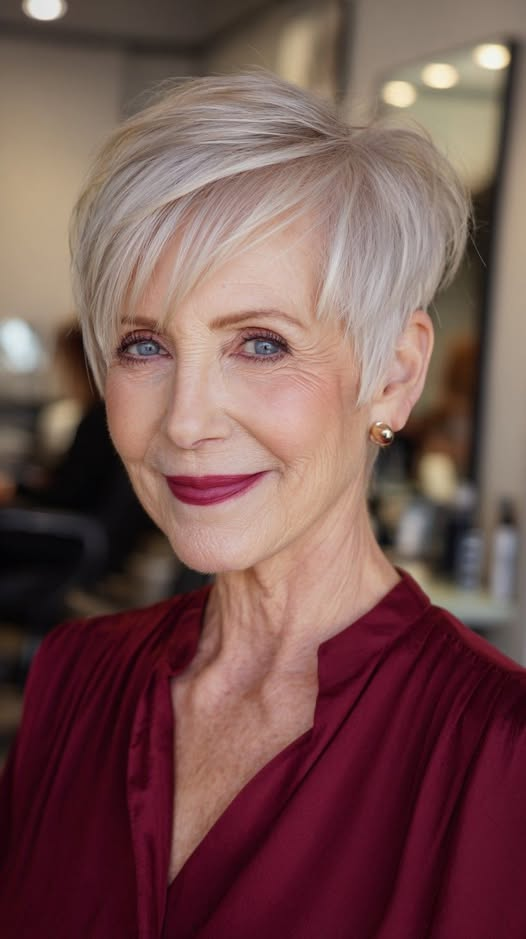
10 Short Hairstyles for Older Women That Bring Back Volume, Confidence, and Easy Mornings
-
22 Long Curly Haircuts with Layers for Women That Eliminate Triangle Hair and Maximize Bounce
-
19 Bangs for Women Over 60 That Soften, Refresh, and Bring Back That Spark
-
17 Bob Haircuts for Round Faces That Add Length, Angles, and Attitude
-
15 Short Hairstyles for Thin Fine Hair That Create Instant Density and Volume
-
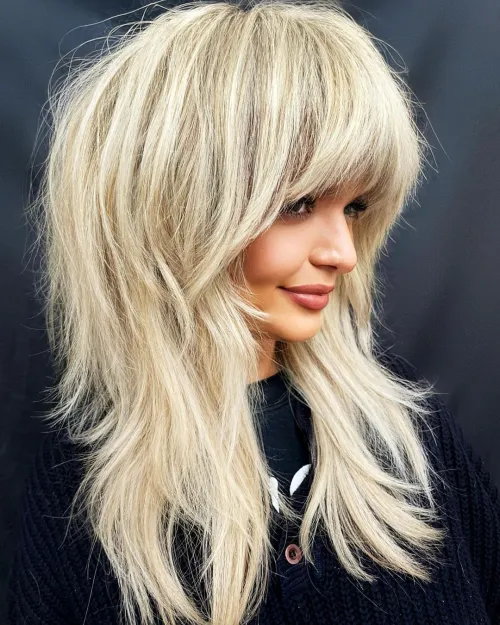
14 Long Shag Cuts: Effortless Volume, Texture, and Movement
-
7 Short Shag Haircuts for Older Women: Textured, Youthful, and Effortless
-
11 Hairstyles for Women Over 70: Elegant, Easy, and Age-Defying
-
13 Long Wolf Cut: Shaggy, Textured, and Wildly Stylish
-
22 Choppy Pixie Cuts for Women: Textured, Edgy, and Effortlessly Cool
-
16 Short Hair Ideas for Plus Size Women: Flattering, Confident, and Stylish
-
10 Curtain Bangs for Women Over 50: Soft, Face-Framing, and Age-Defying