Hairstyles
-
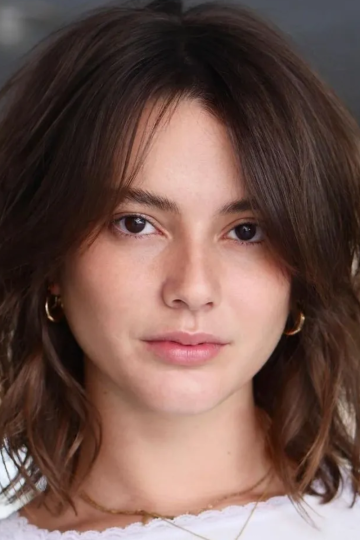
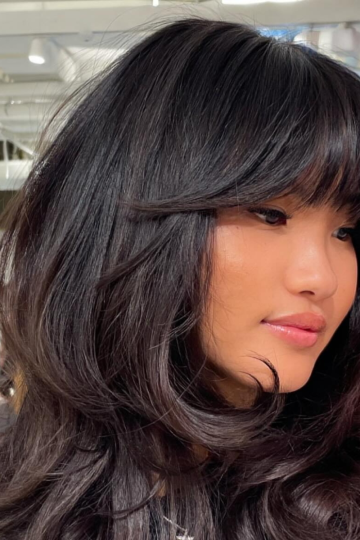
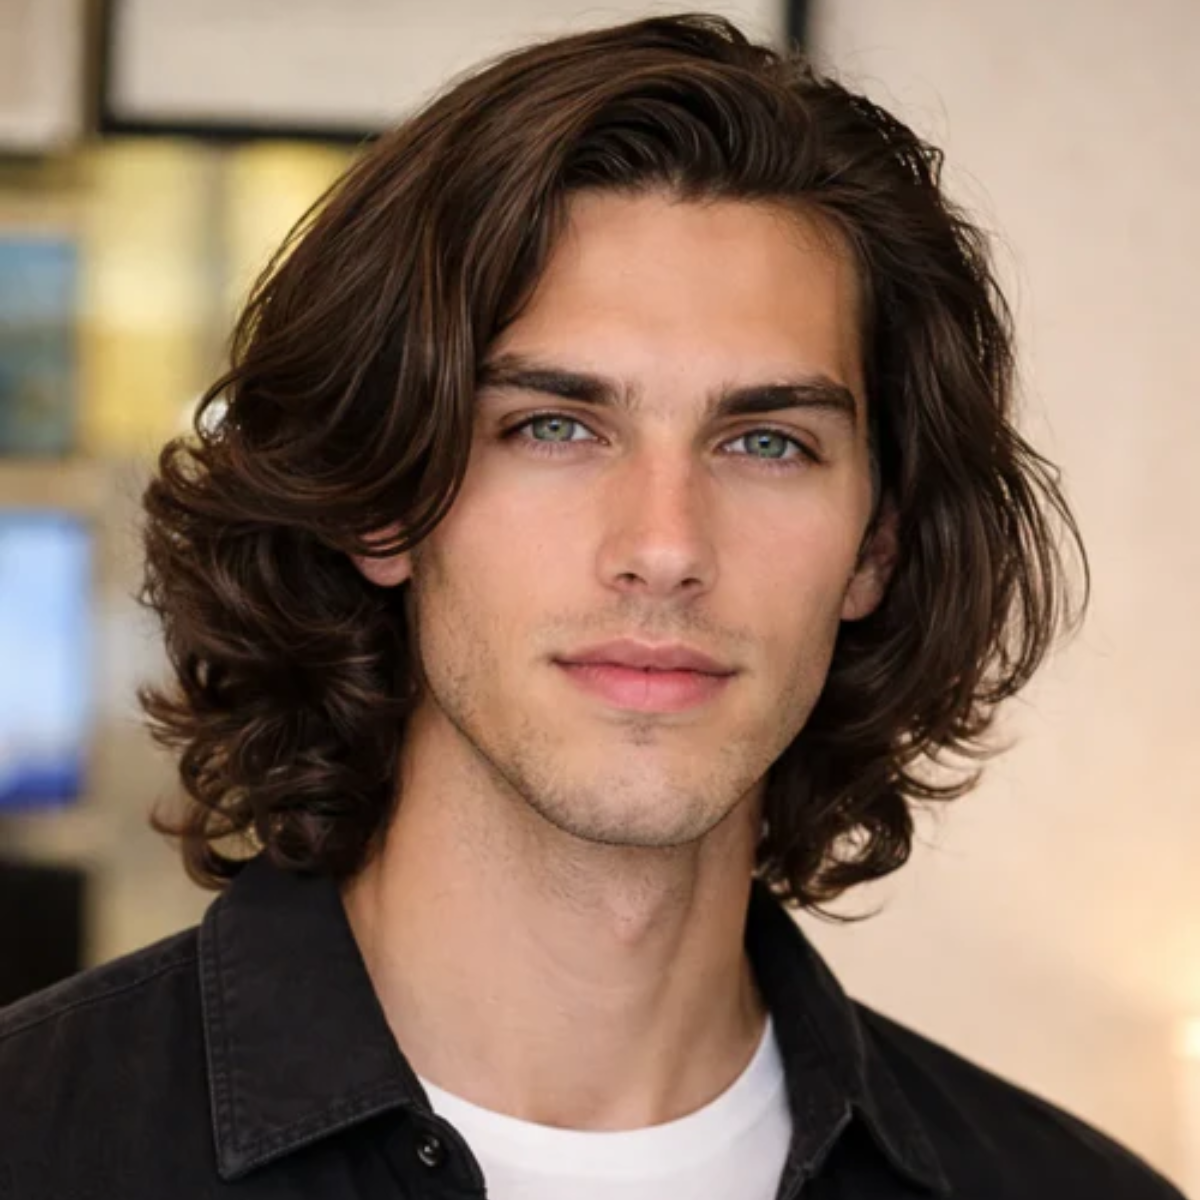
Medium Hairstyles with Layers for Wavy Hair: 11 Effortless Texture-Enhancing Cuts
-
Short Hairstyles with Curtain Bangs: 10 Face-Framing Fringe Styles
-
Wash and Wear Haircuts for Wavy Hair: 13 Effortless Texture-Enhancing Styles
-
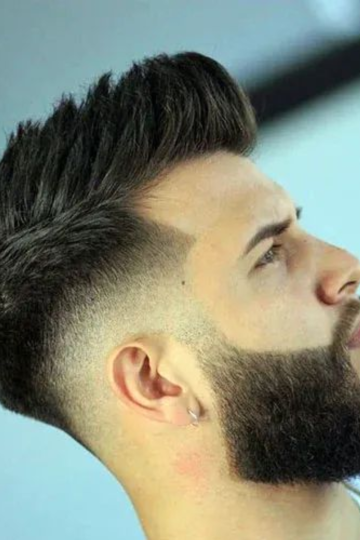
Haircuts for Men with Chubby Faces: 13 Slimming Elongating Styles
-
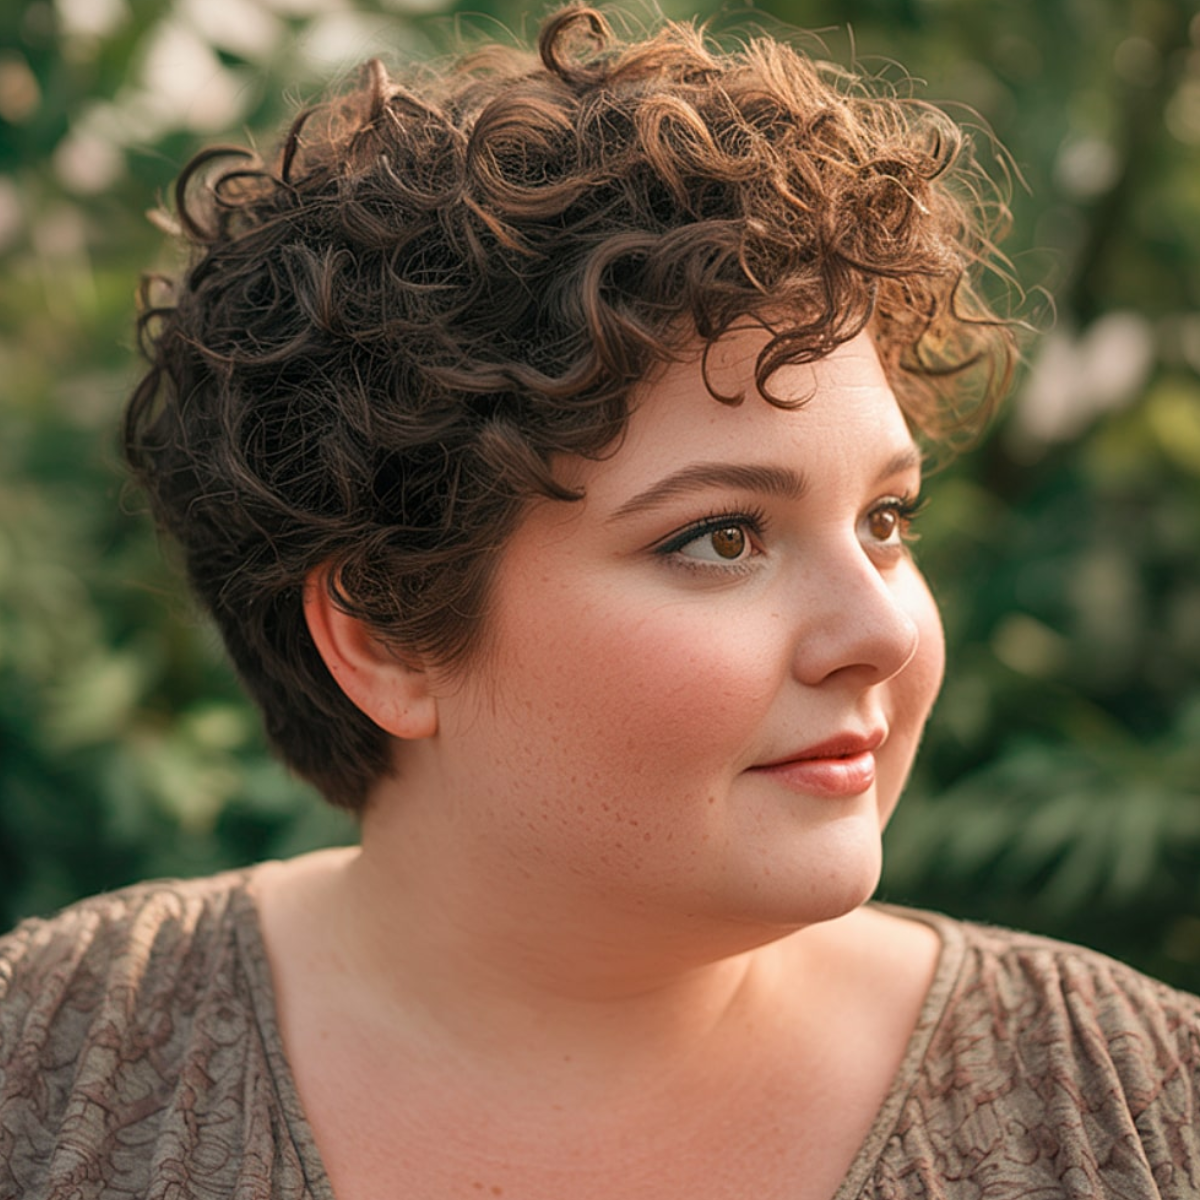
Short Pixie Haircuts for Thick Hair: 13 Lightweight Shape-Enhancing Cuts
-
Choppy Bob Hairstyles for Thick Hair: 13 Bulk-Busting Edgy Cuts
-
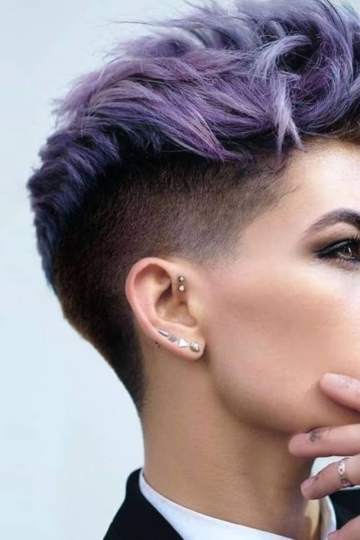
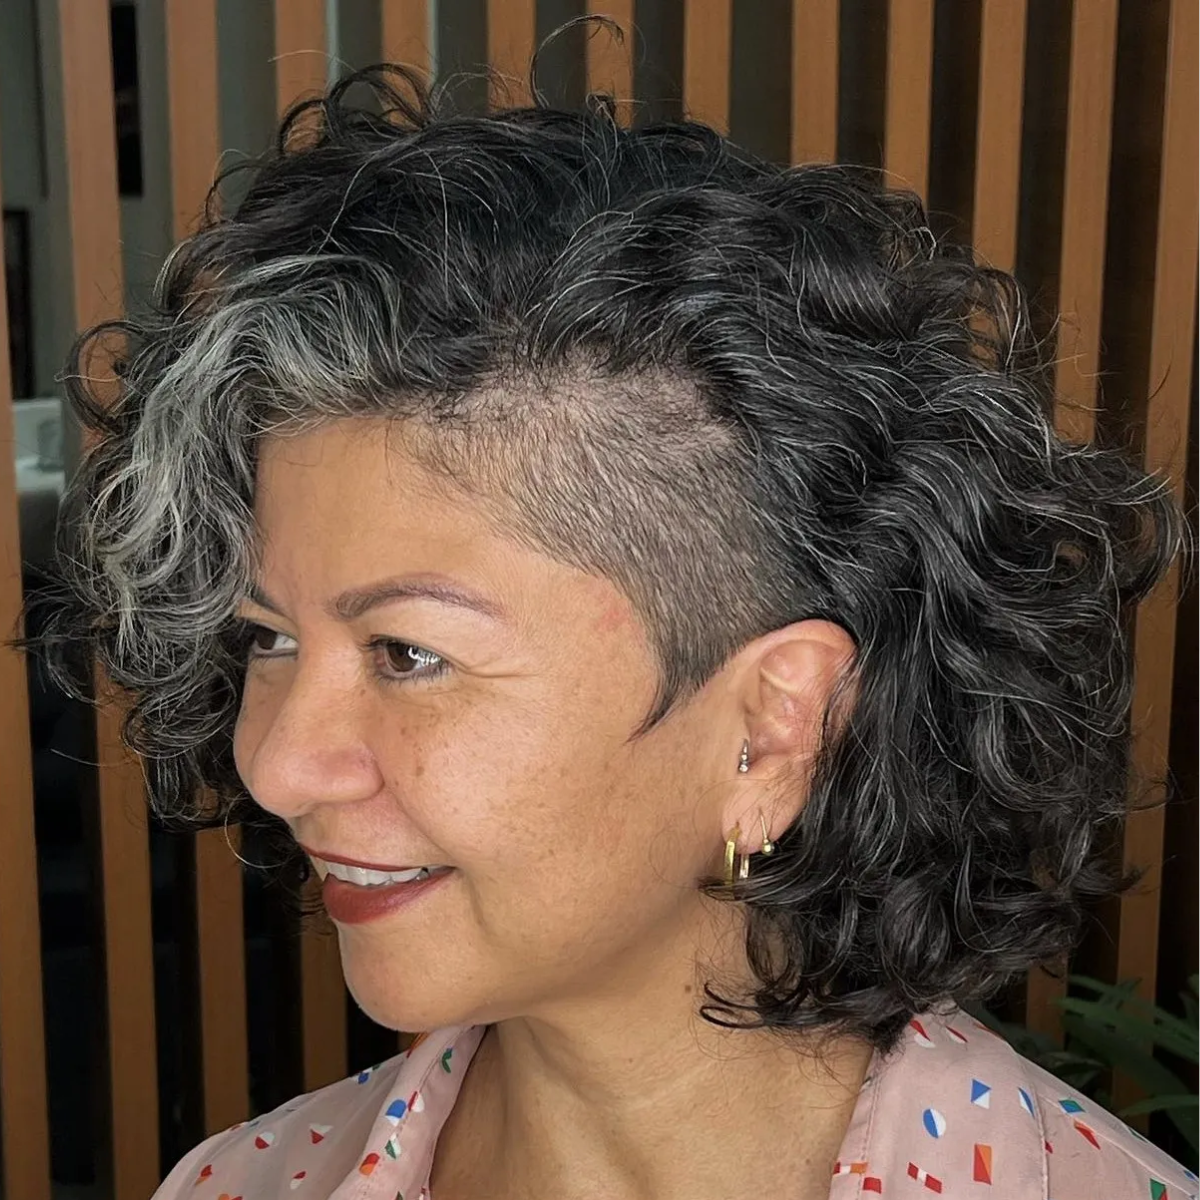
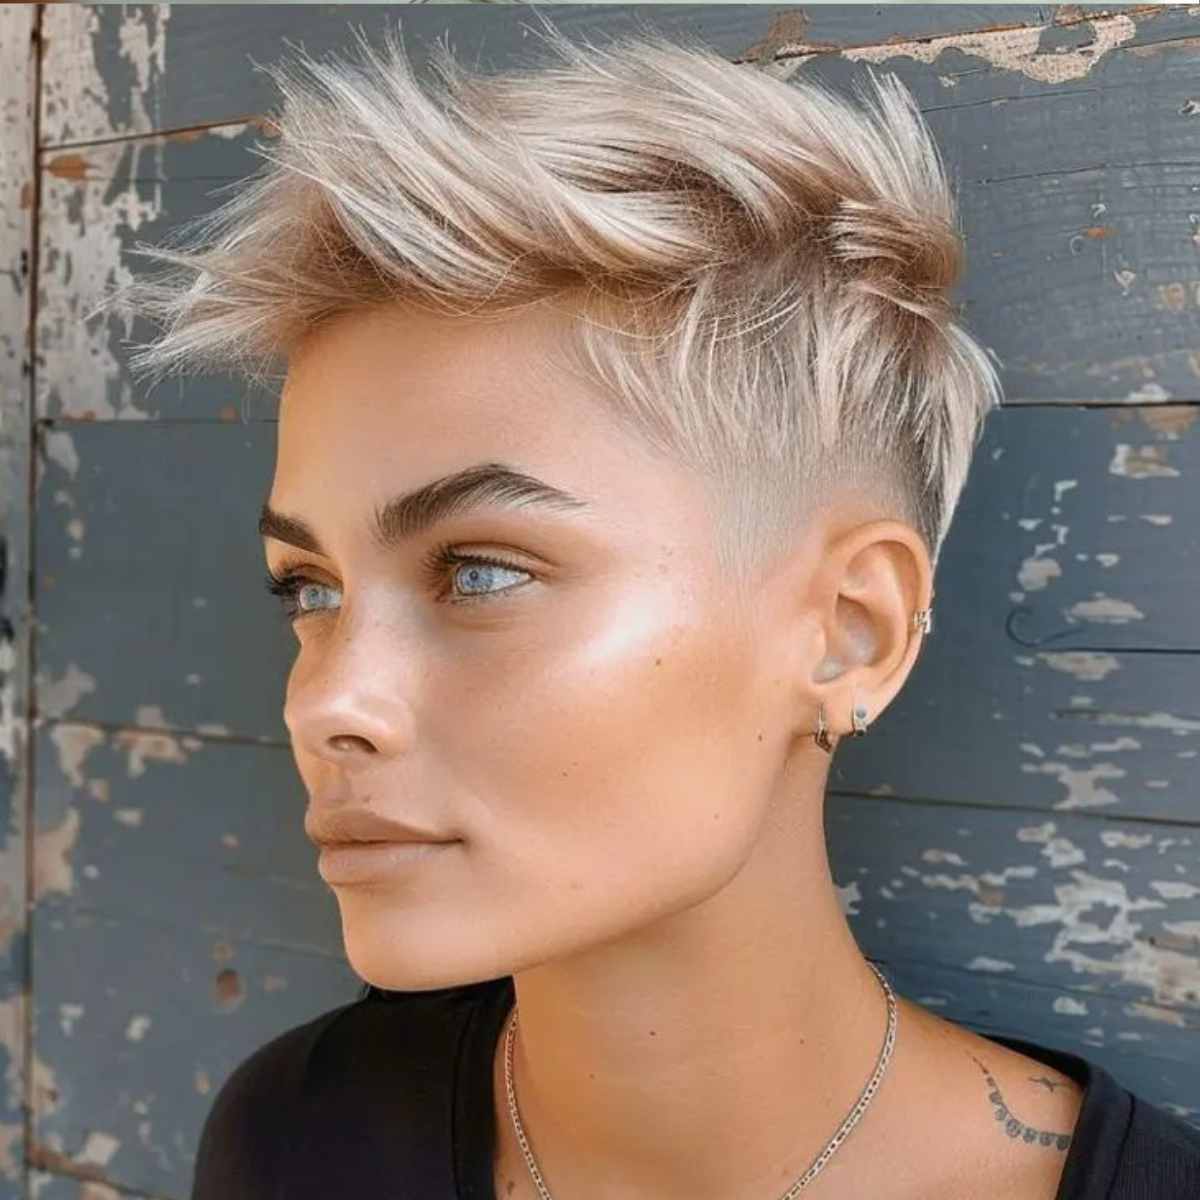
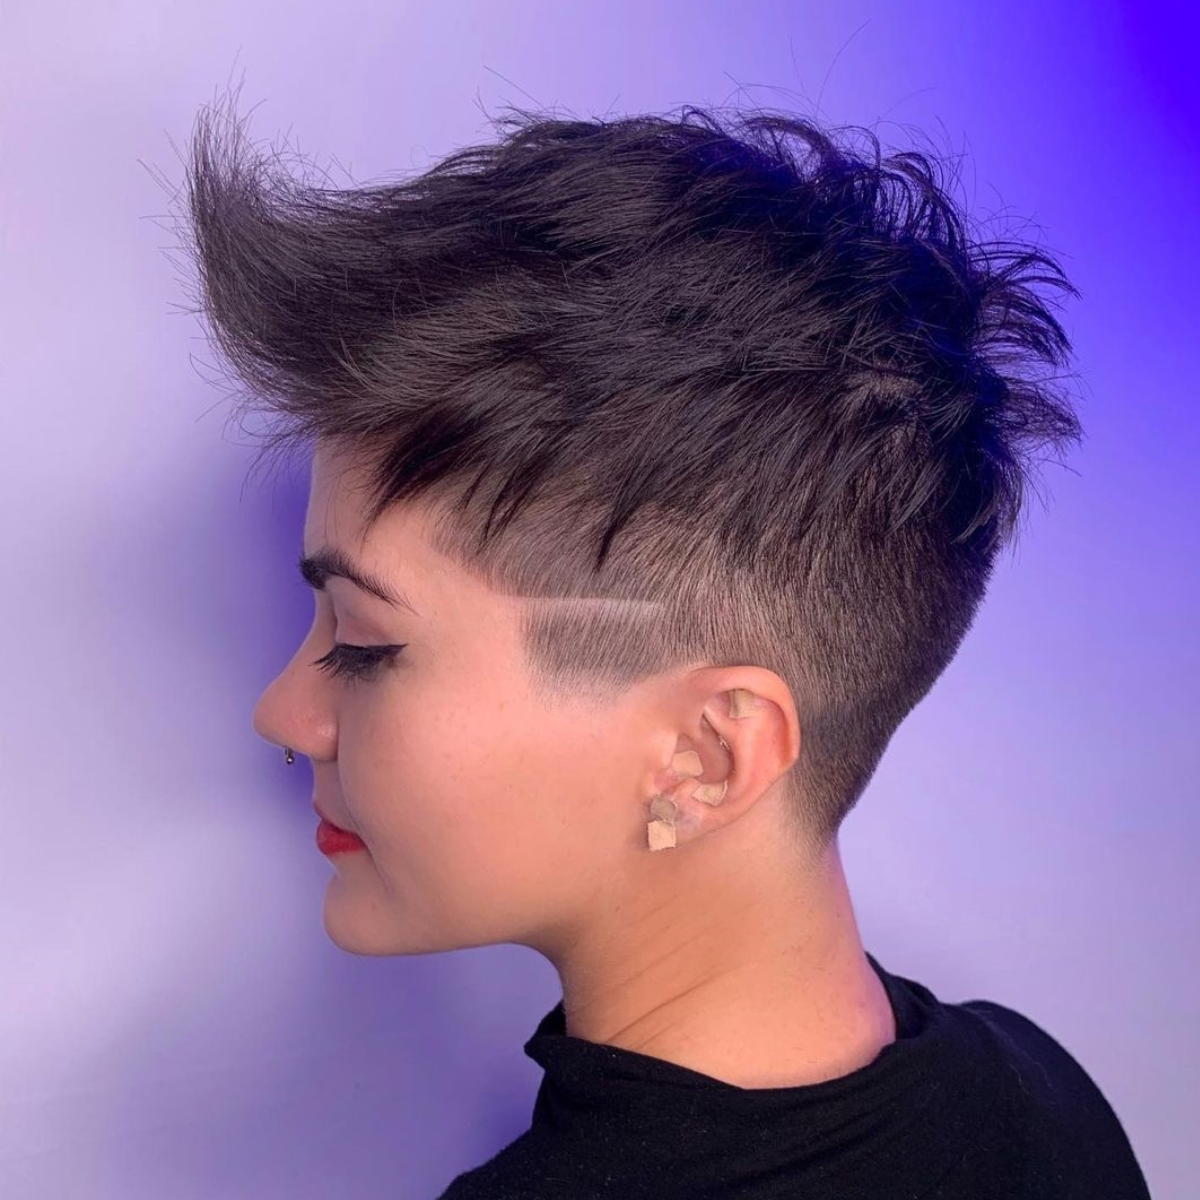
Pixie Cut with Shaved Sides Undercut: 13 Edgy Modern Styles
-
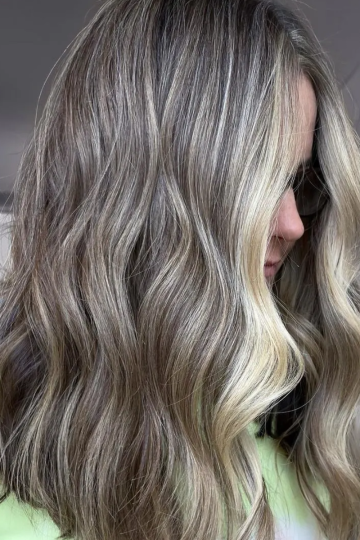
Blonde and Gray Blending Highlights: 10 Seamless Transition Techniques
-
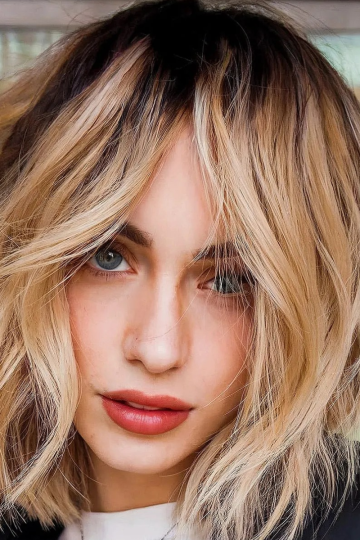
Medium Length Hair with Layers and Bangs: 10 Face-Framing Styles
-
Short Layered Haircuts for Shoulder Length Hair: 10 Movement-Boosting Styles
-
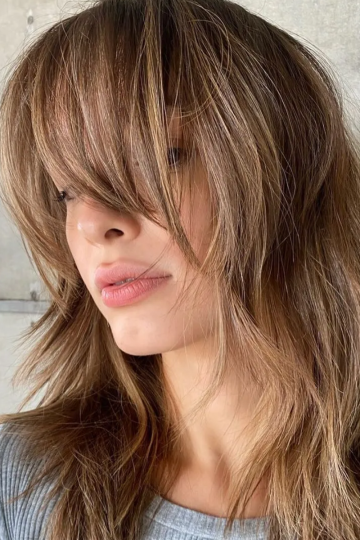
Long Shag Cuts for Fine Hair: 10 Volume-Boosting Styles
-
Short Shag Haircuts for Women in 2026: 10 Fresh Textured Styles
-
Hairstyles for Women in Their 40s: 12 Fresh, Flattering Cuts
-
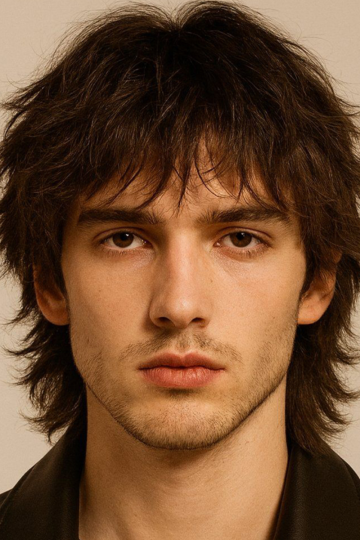
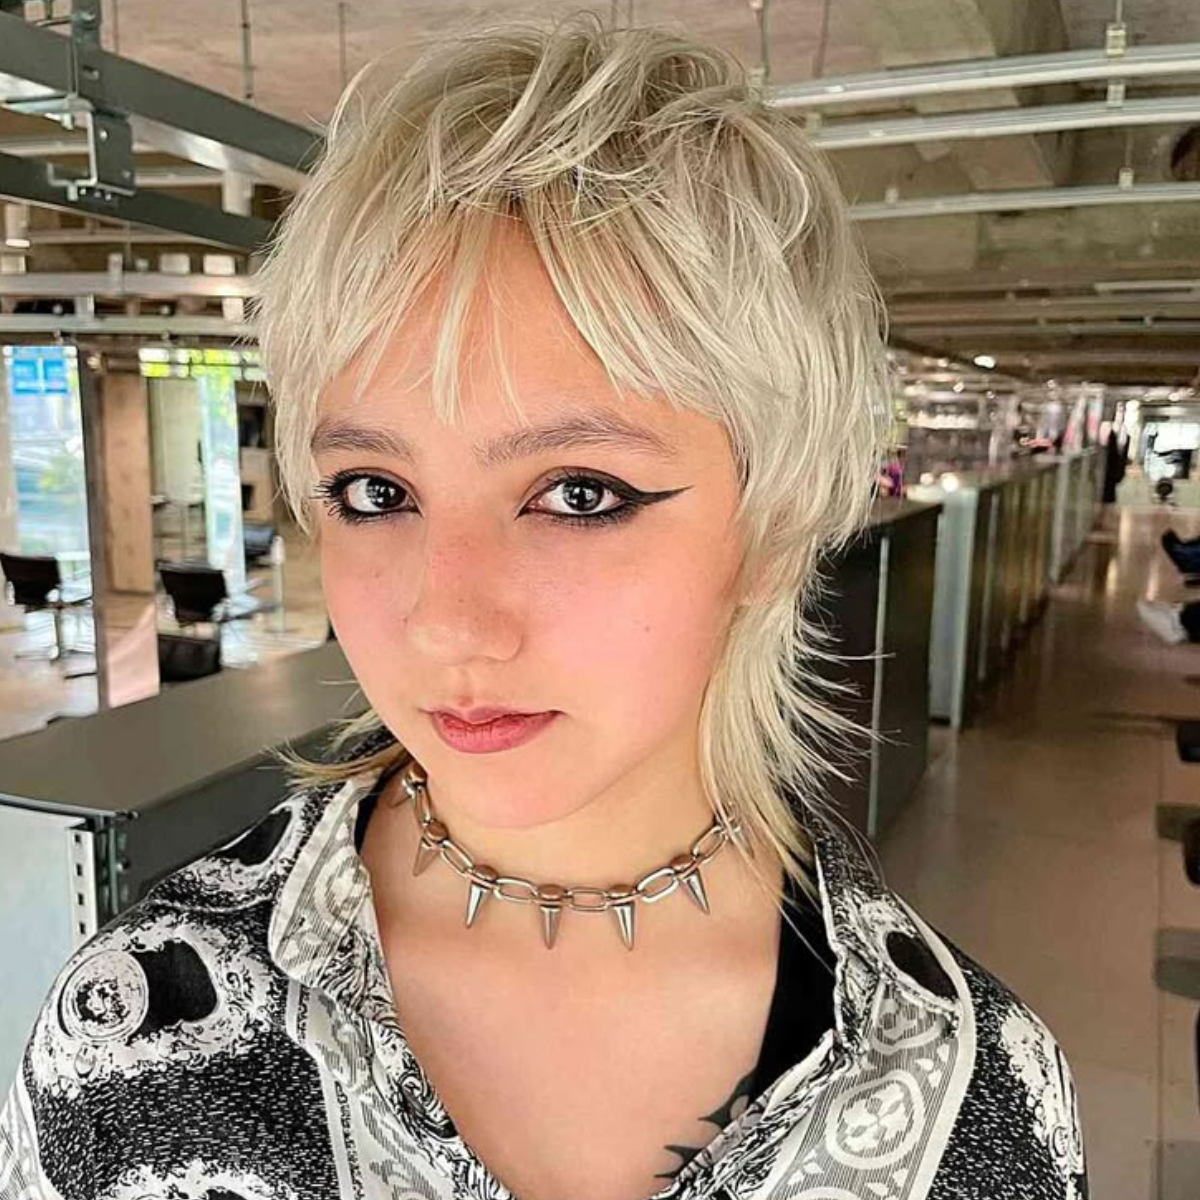
Wolf Cut for Men: 12 Edgy Takes on the Trend
-
Choppy Pixie Cuts for Men: 12 Modern Textured Styles
-
Easy Medium Length Hairstyles for School Teens: 12 Morning-Friendly Looks
-
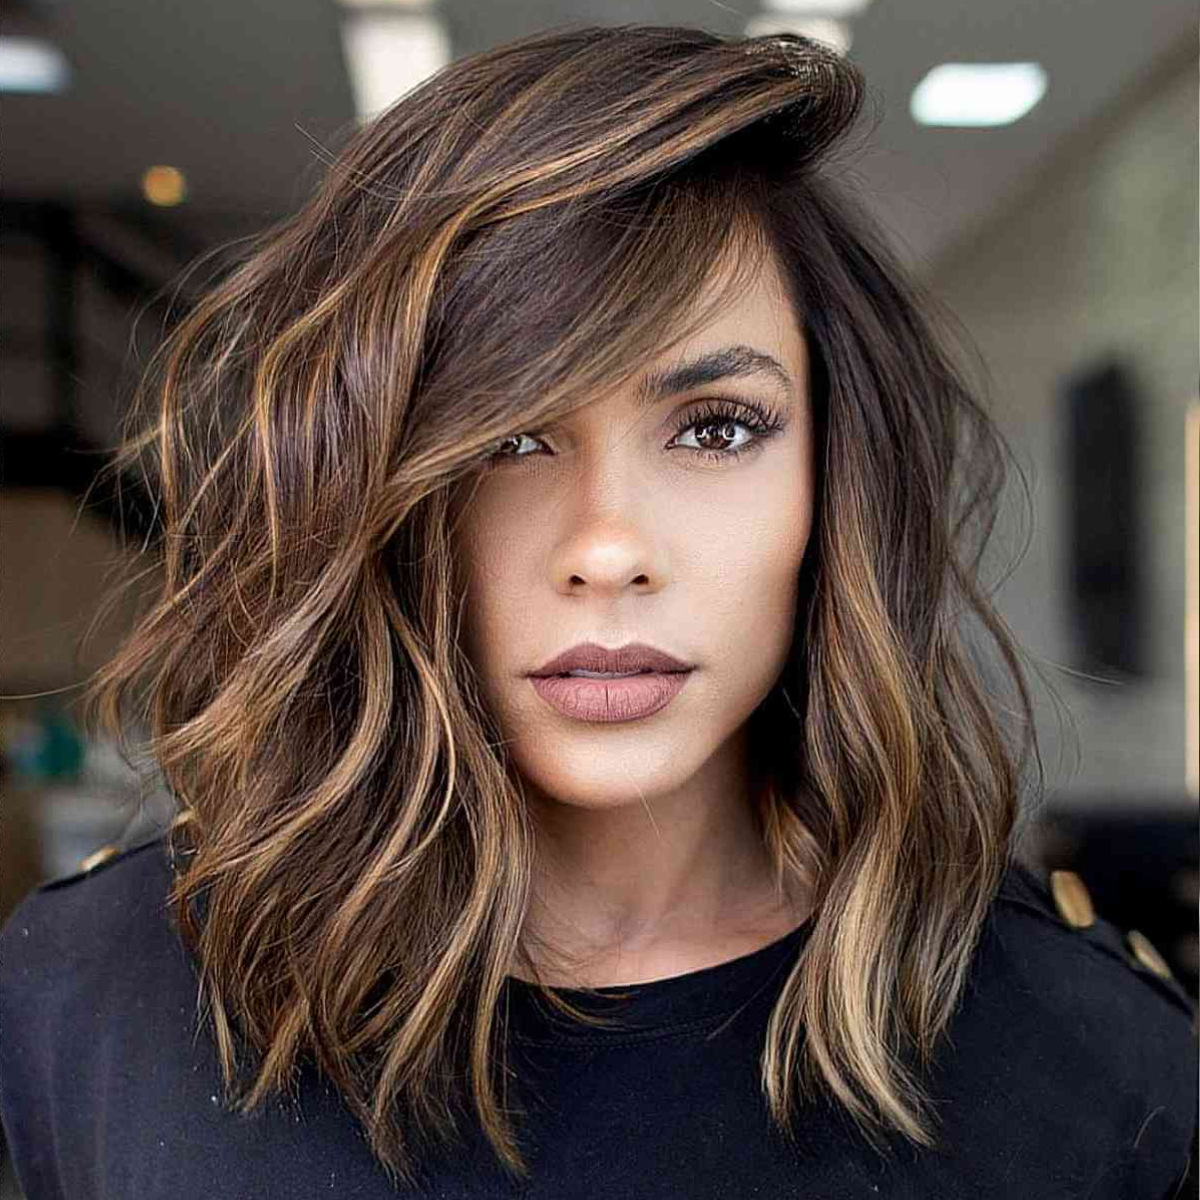
Medium Length Hairstyles with Layers: 12 Cuts That Add Movement
-
Curtain Bangs on Long Hair: 14 Face-Framing Styles for Extra Length
-
Short Hair Ideas Styling for School: 12 Morning-Friendly Looks
-
Funky Short Haircuts Layered Bobs: 12 Bold Takes on a Classic
-
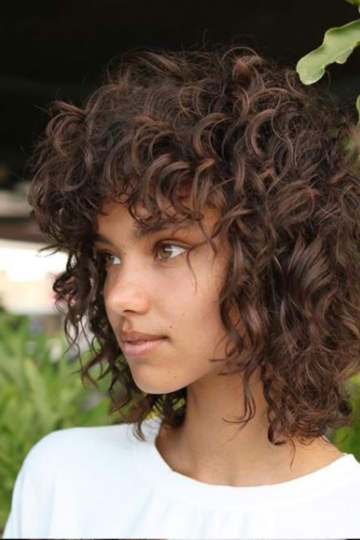
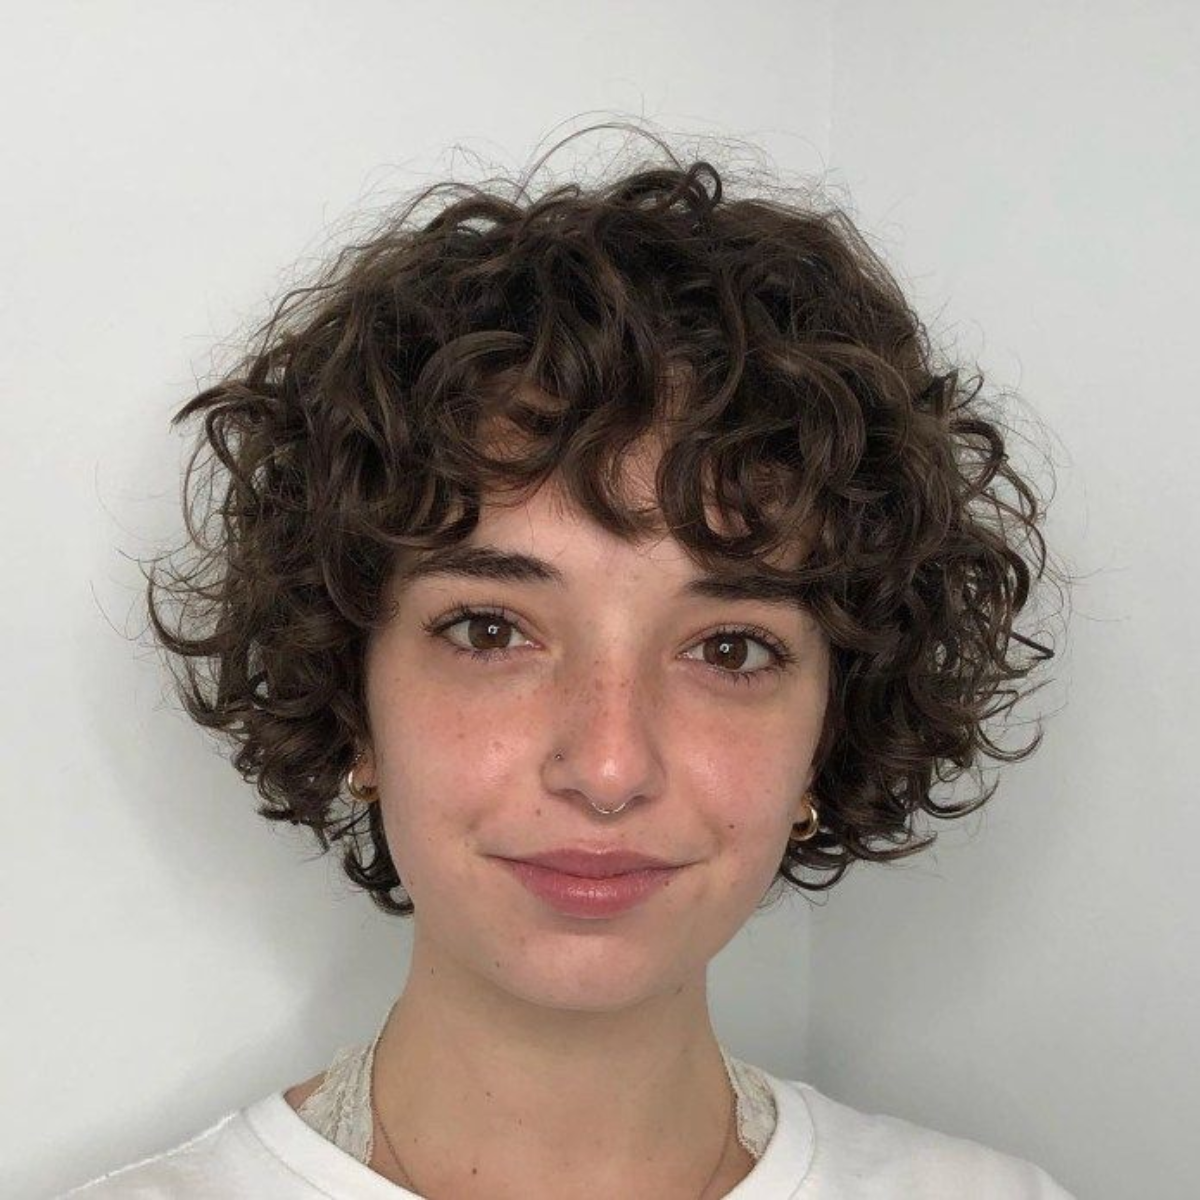
Face Framing Haircut for Short Curly Hair: 14 Flattering Styles
-
Angled Bob Hairstyles Medium Length: 13 A-Line Cuts That Hit the Sweet Spot
-
Easy Short Hairstyles for School: 13 Morning-Friendly Cuts
-
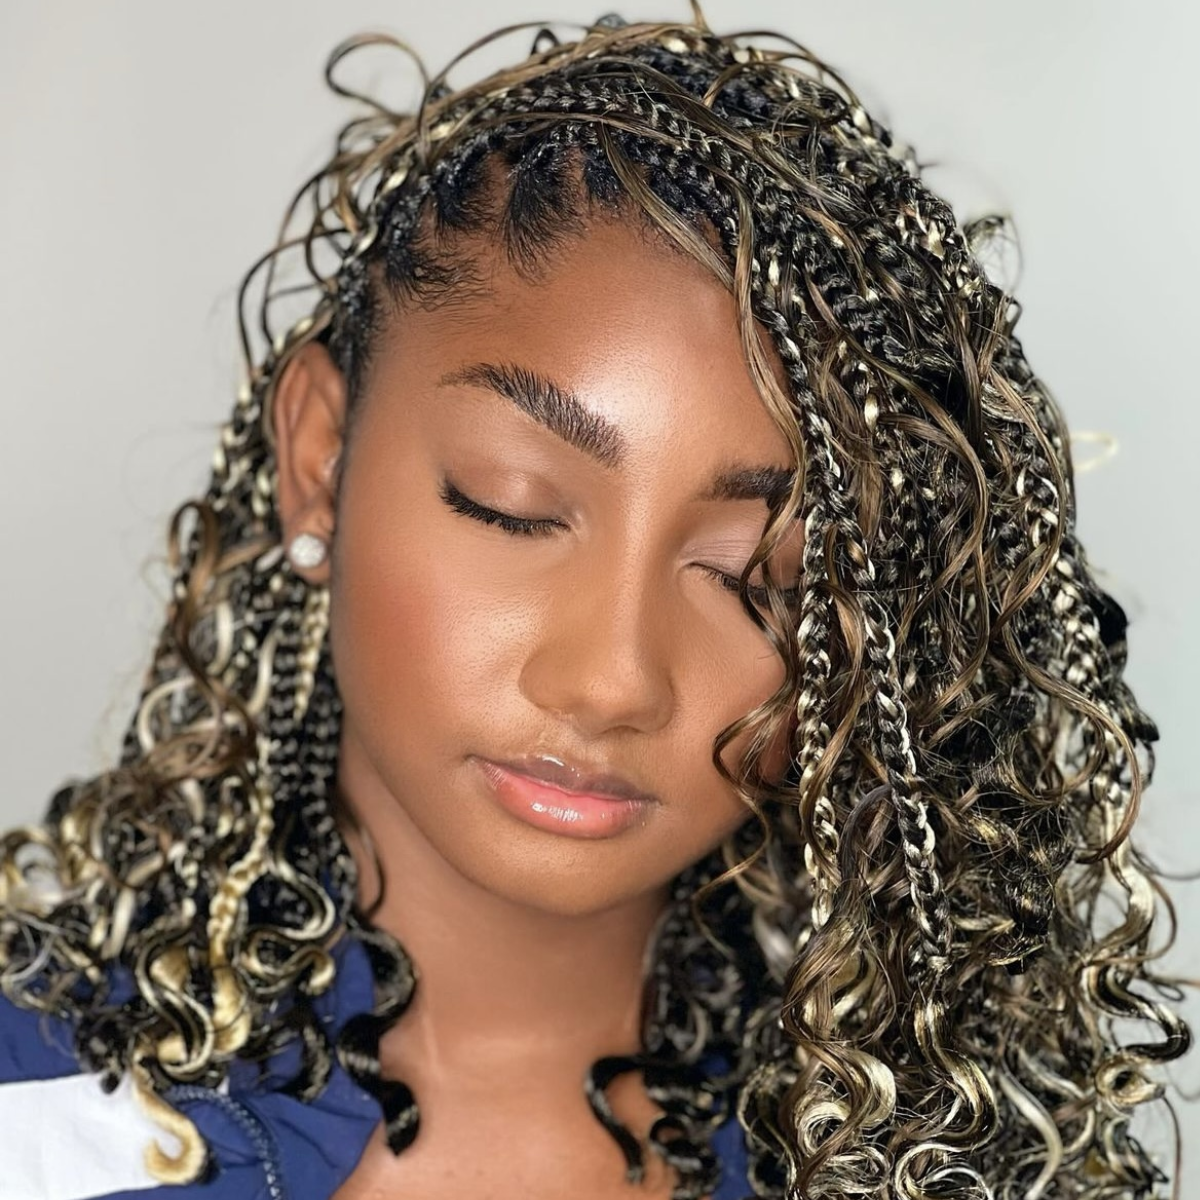
Short Hairstyles for Black Women Braids: 13 Protective Styles That Pop
-
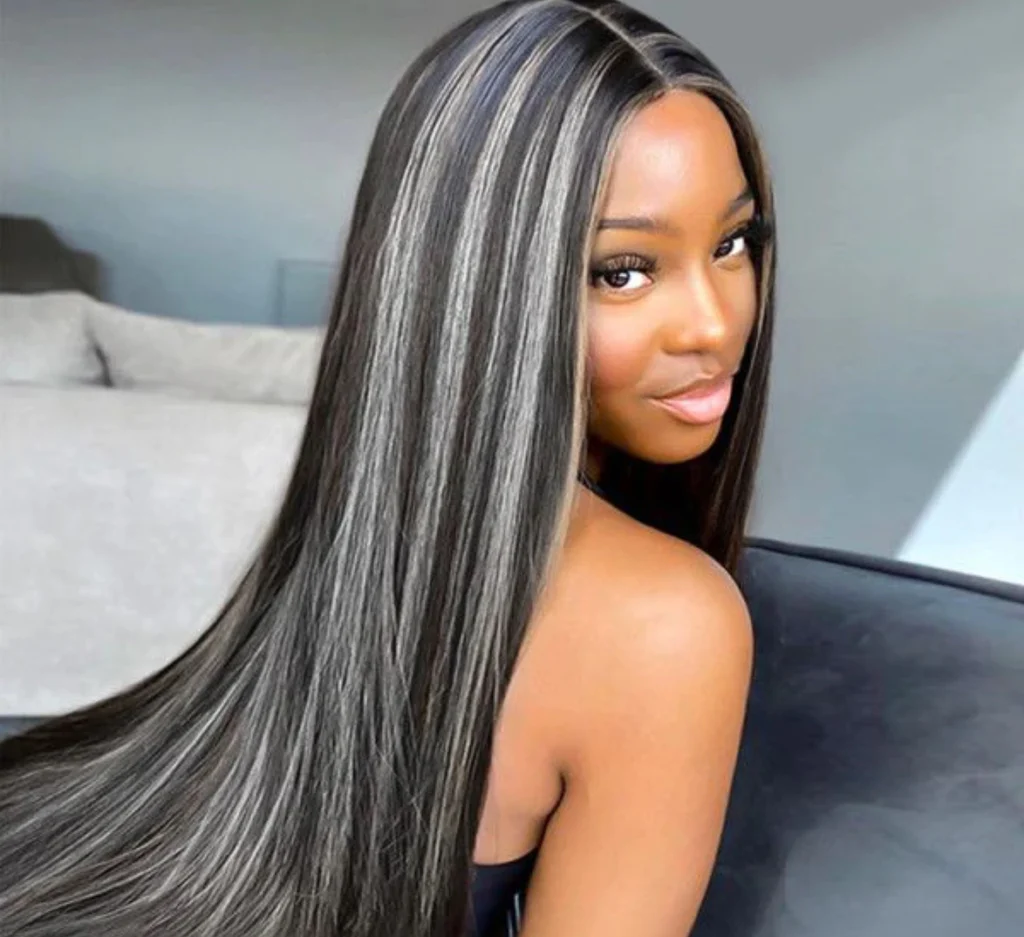
Gray Hair Highlights on Black Hair: 13 Ways to Enhance Natural Silver
-
Straight Medium Length Hairstyles With Layers: 13 Sleek Cuts That Add Movement and Volume
-
Funky Short Hair Over 50: 13 Bold Cuts for Women Who Refuse to Blend In
-
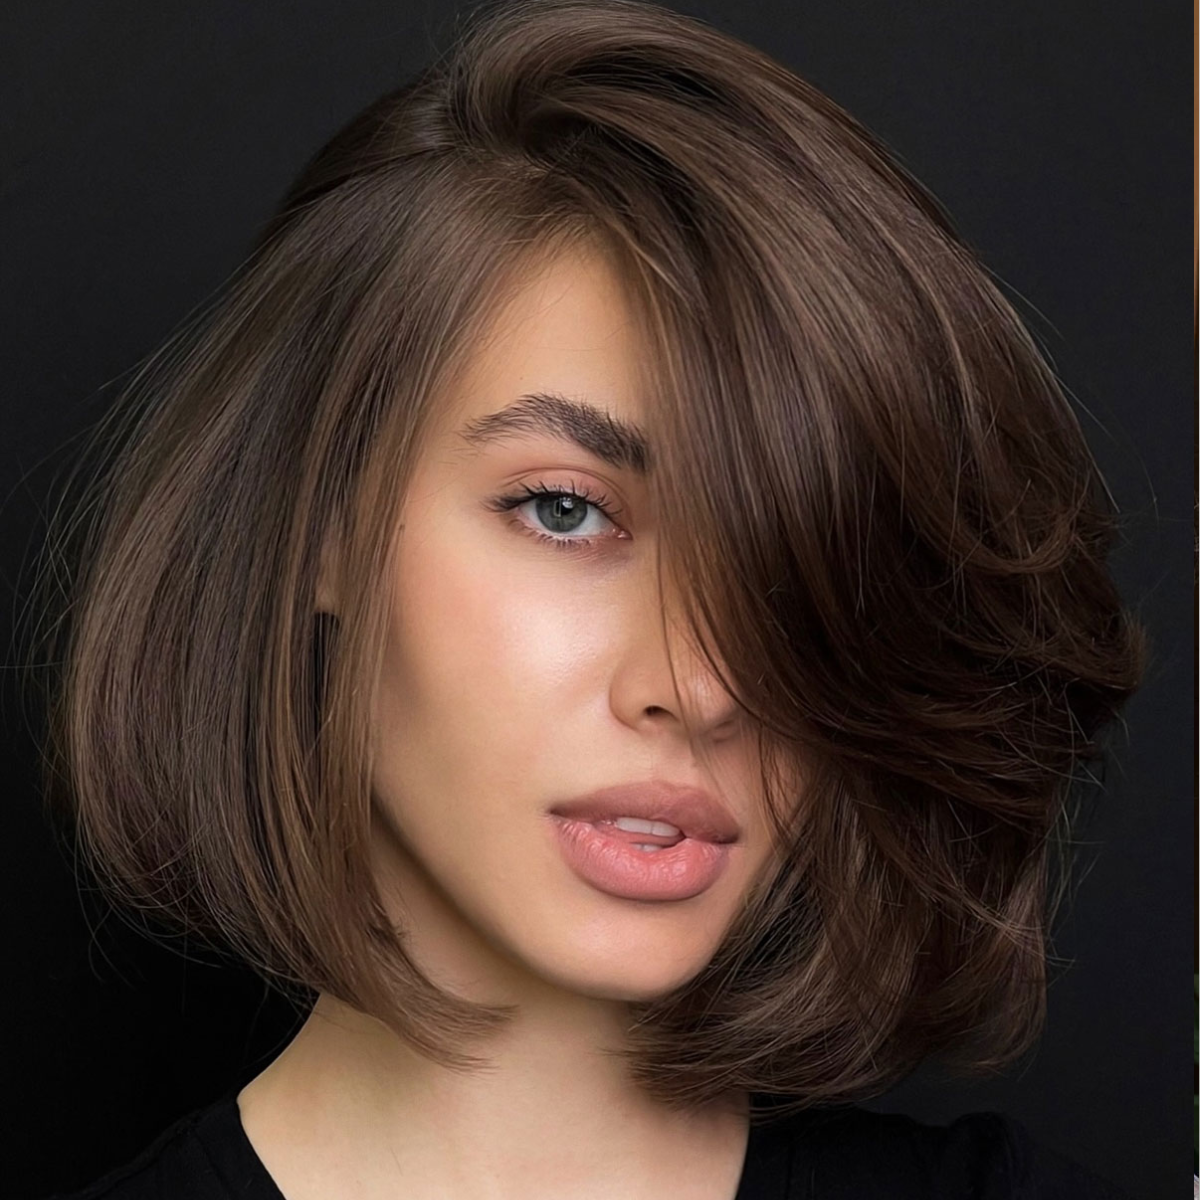
Short Layered Bob Thick Hair: 13 Cuts That Tame the Bulk
-
Short Hairstyles for Women Over 50: 13 Modern, Fresh, and Easy Cuts
-
Short Curly Haircuts With Layers Fine Hair: 13 Lightweight Cuts
-
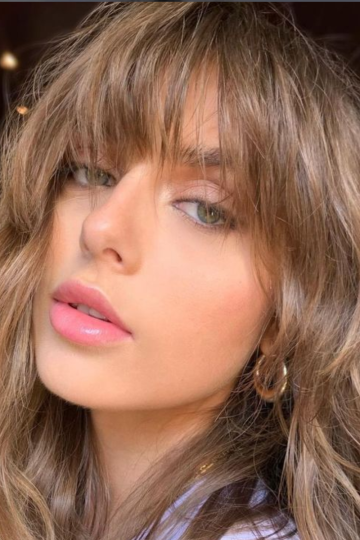
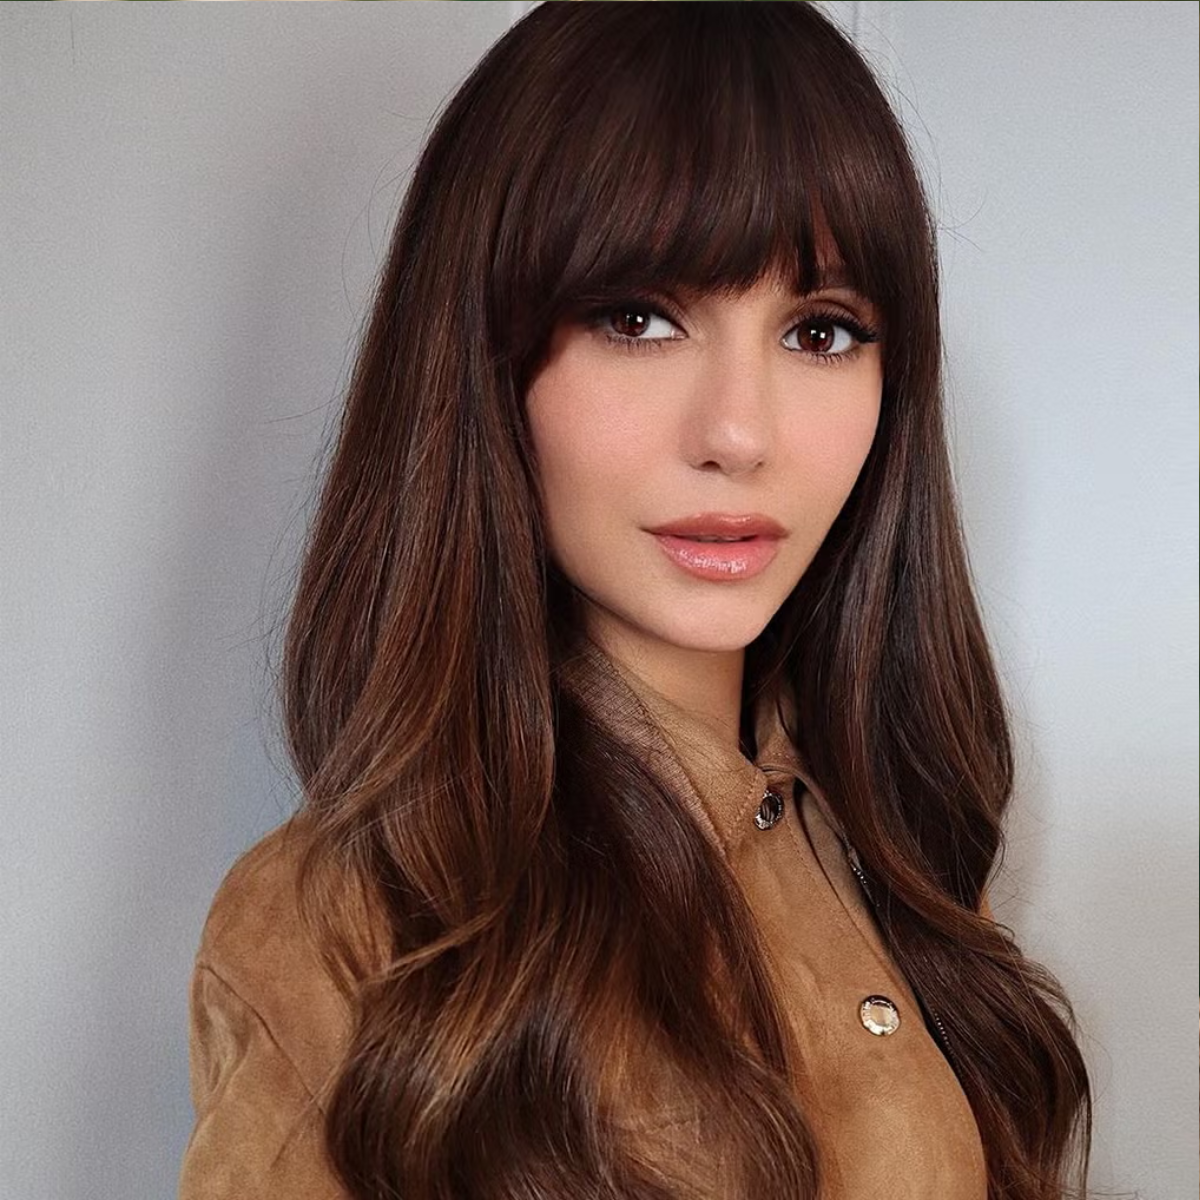
Bangs Haircut Ideas for Long Hair: 13 Fringe Styles
-
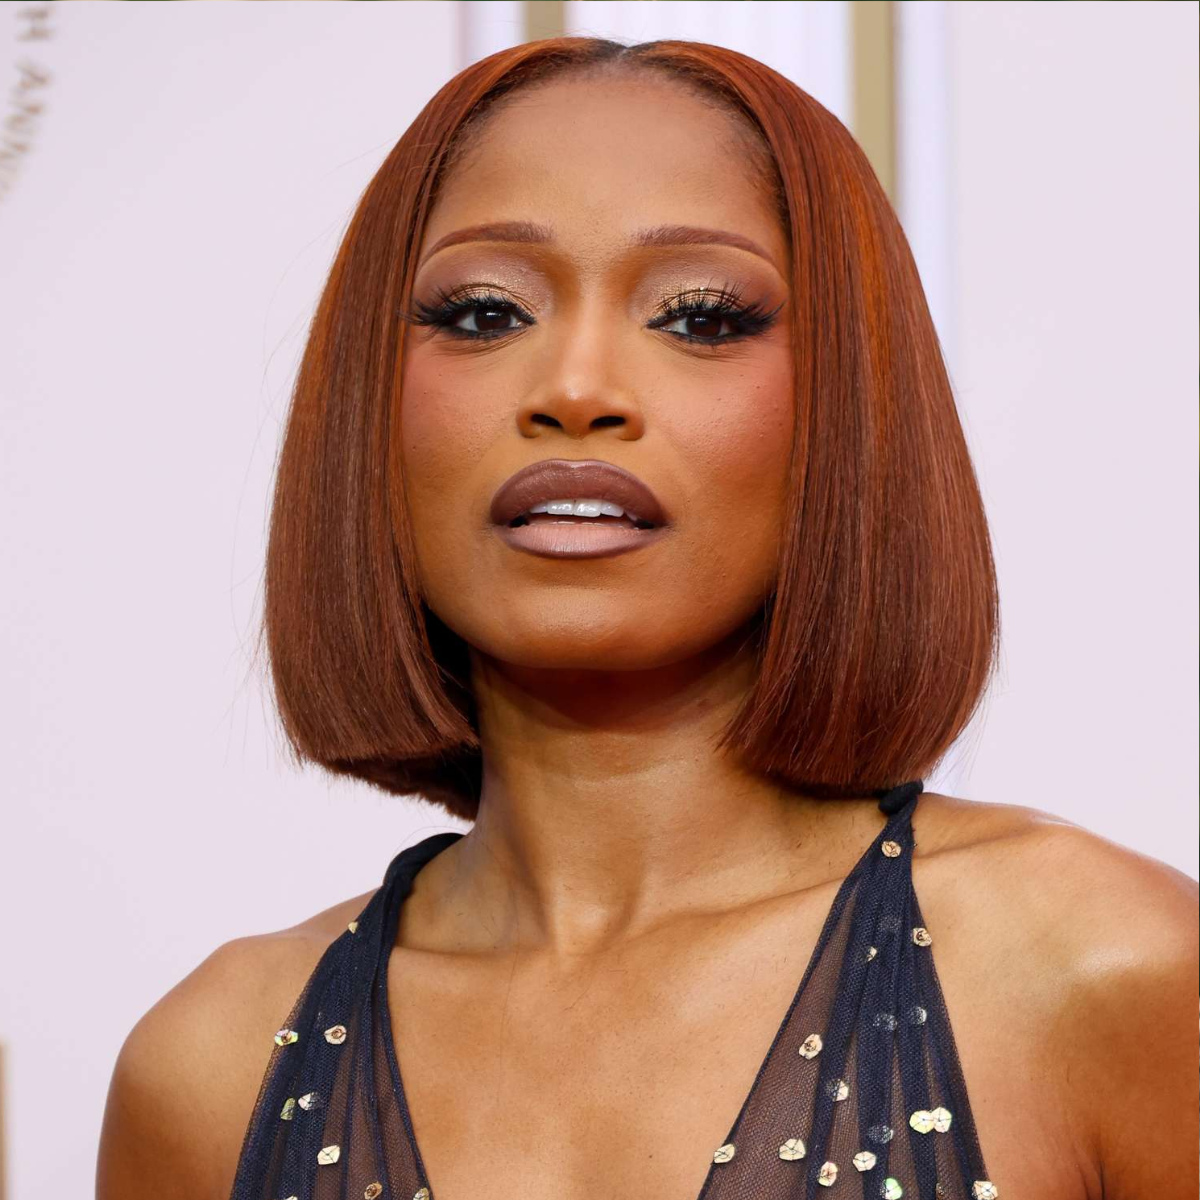
Bob Haircuts 2026: 13 Styles for the New Year
-
Short Hairstyles for Round Faces: 13 Cuts That Add Length and Angles
-
Choppy Pixie Haircuts for Fine Hair: 13 Textured Styles
-
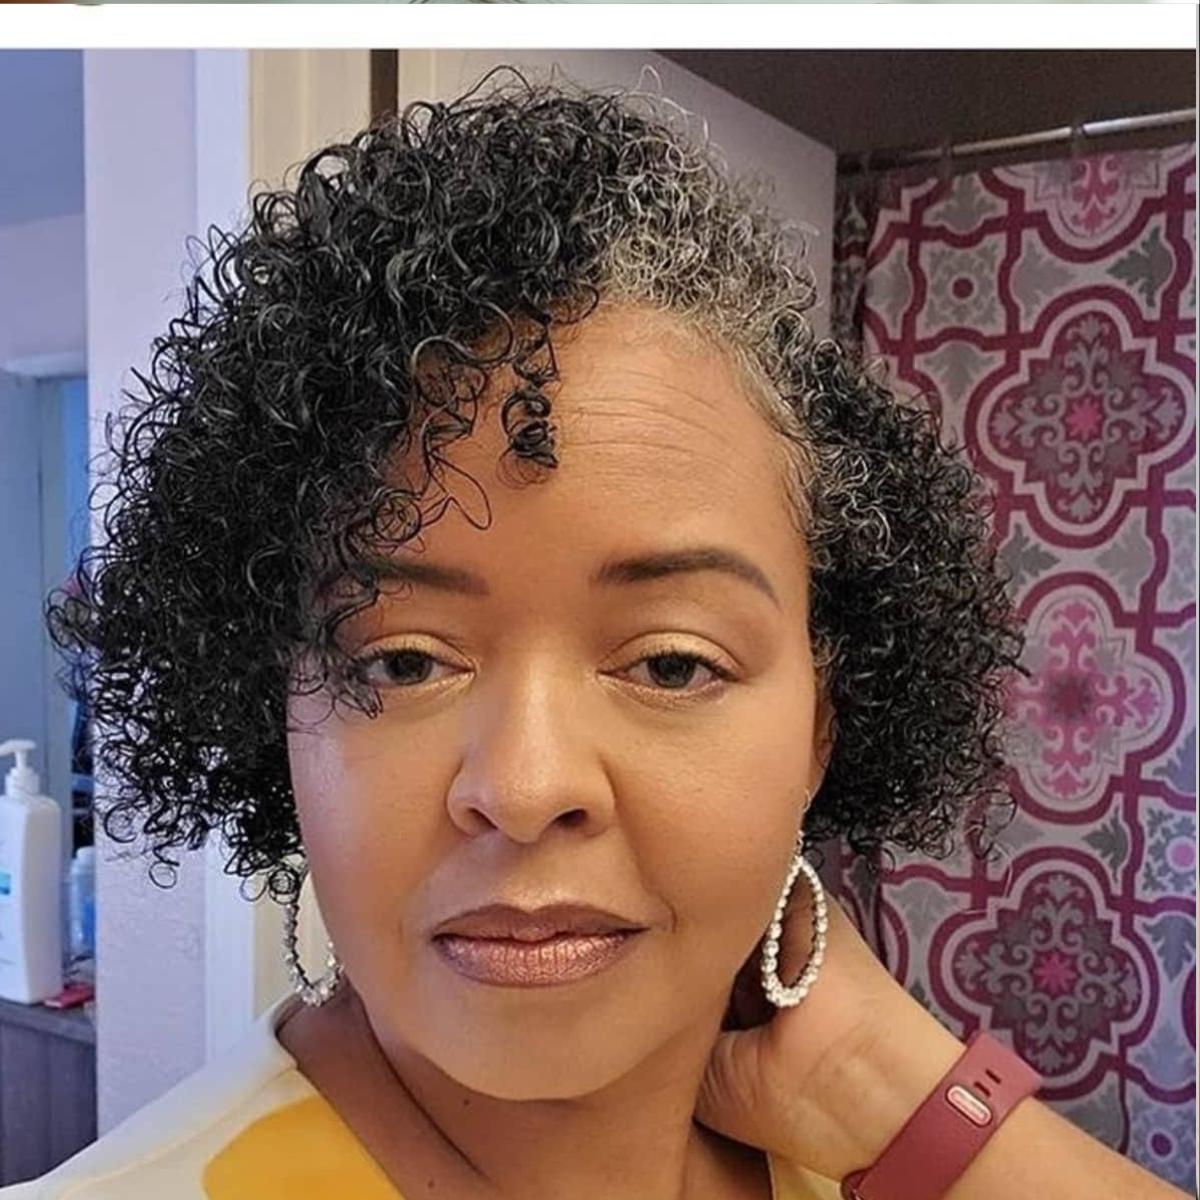
Coily Medium Hairstyles for Women Over 60
-
Short Thin Fine Hair: 16 Haircuts That Create the Illusion of Density
-
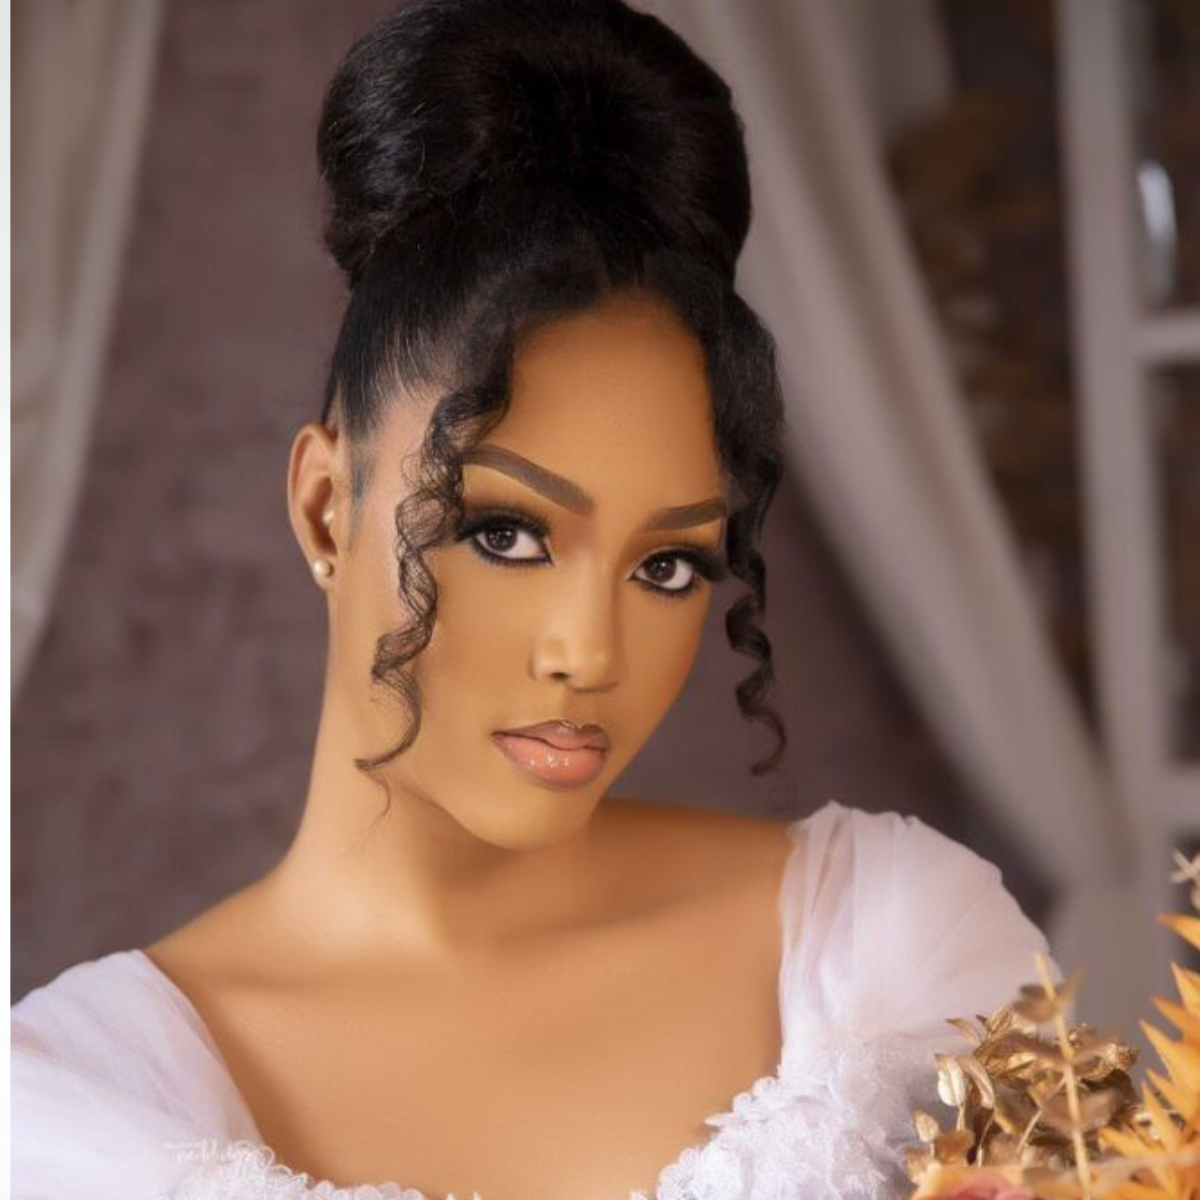
Shoulder Length Hairstyles for Wedding: 15 Looks That Stay All Day
-
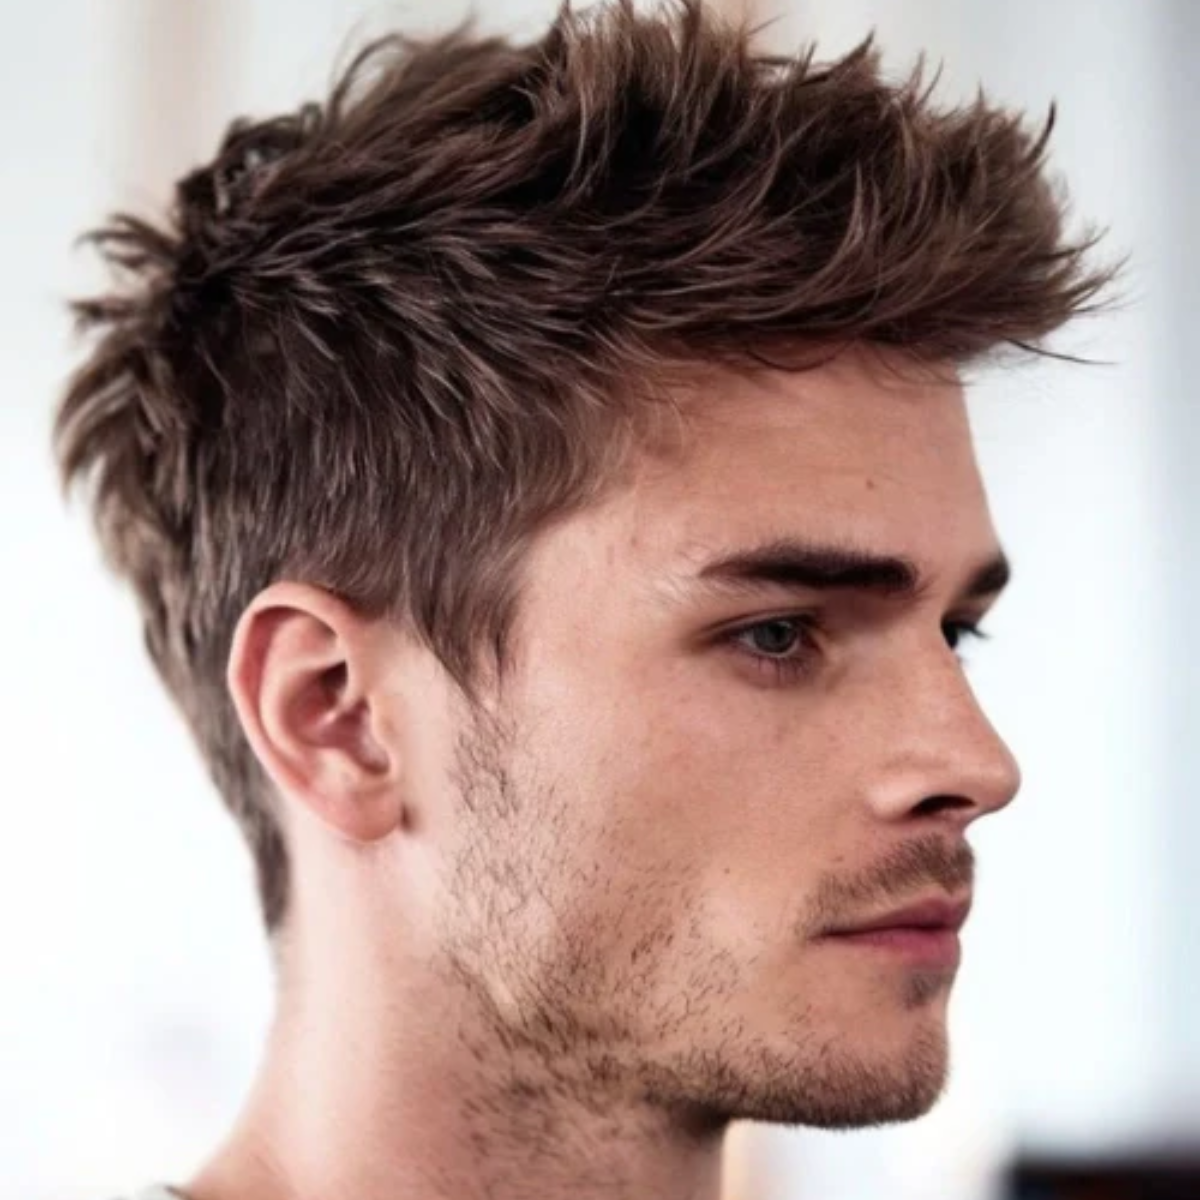
Spiky Hairstyles for Men: 15 Modern Spikes (No Hard Gel Required)
-
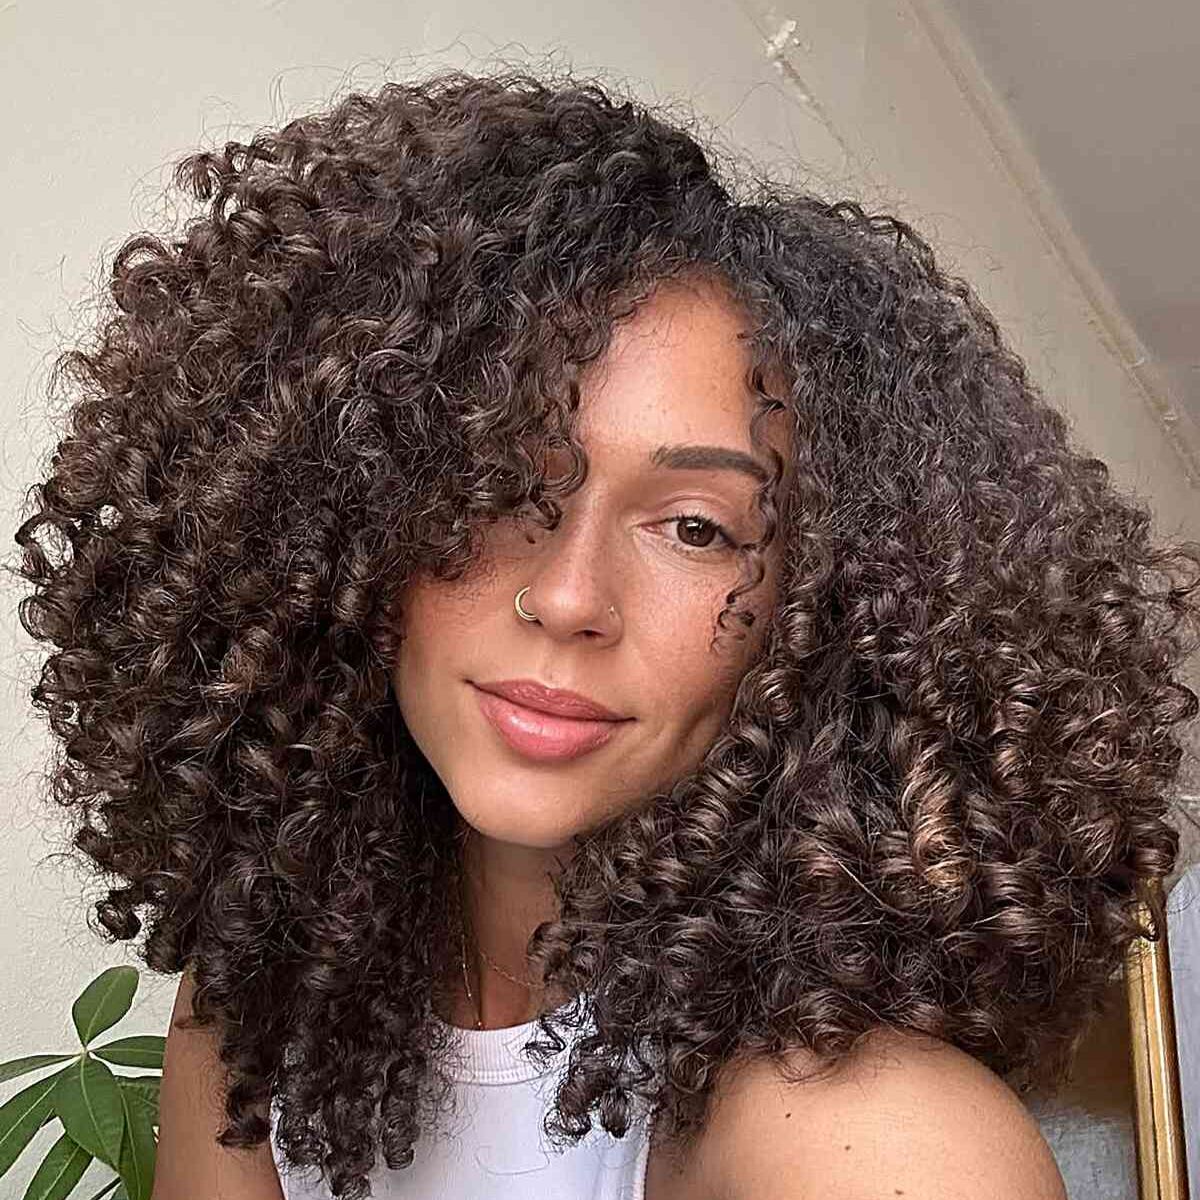
Curly Medium Length Hairstyles: 15 Cuts That Respect Your Texture
-
Undercut Pixie with Long Bangs: 15 Shaved-Meets-Soft Styles
-
Medium Hairstyles for Men: 15 Styles That Hit the Sweet Spot
-
The Wolf Cut for Men Over 50: Modern Edge with Mature Sophistication