
There is a reason shoulder length hair is a wedding favorite. It is not so long that curls fall flat. It is not so short that your options disappear. It hits that perfect spot where pins actually stay, volume holds, and you still look like yourself — just fancier.
I have styled shoulder length hair for brides who wanted romantic but not fussy. For bridesmaids who needed something that would last through photos, ceremony, and dancing. For guests who wanted to look polished without spending two hours in front of a mirror.
The good news is that you do not need extensions. You do not need a professional unless you want one. You just need the right technique for your length.
Here are 15 shoulder length hairstyles for weddings that actually stay put.
The Golden Rules for Wedding Hair
Test your style ahead of time. Wear it for a full day. See if pins slip. See if curls fall. Adjust before the wedding.
Second-day hair is better than fresh. Wash your hair the day before. Too clean equals too slippery. Day-old hair holds style significantly better.
Bring backup pins and hairspray. Things move. Dancing happens. Be prepared.
Match your style to your neckline. An updo shows off a high neckline. Loose waves work with strapless. Side styles balance asymmetrical necklines.
Comfort matters most. If your head hurts or you are constantly touching your hair, you chose wrong.
Now let us get into the 15 styles.
The 15 Shoulder Length Wedding Hairstyles
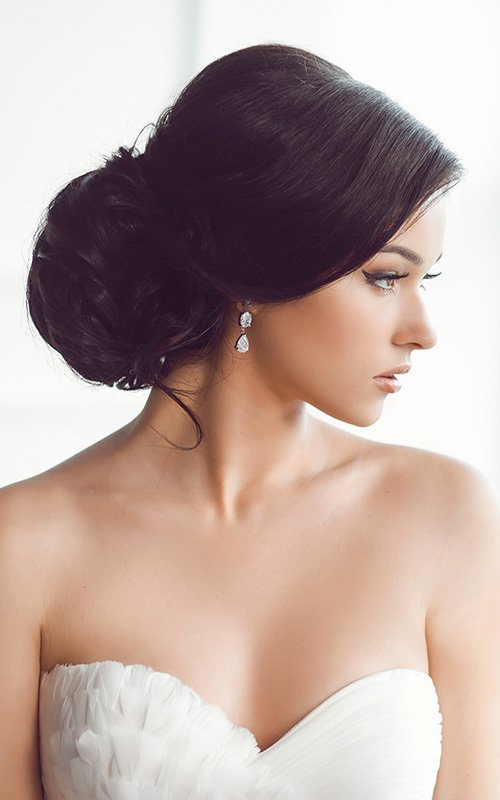
1. The Relaxed Low Knot
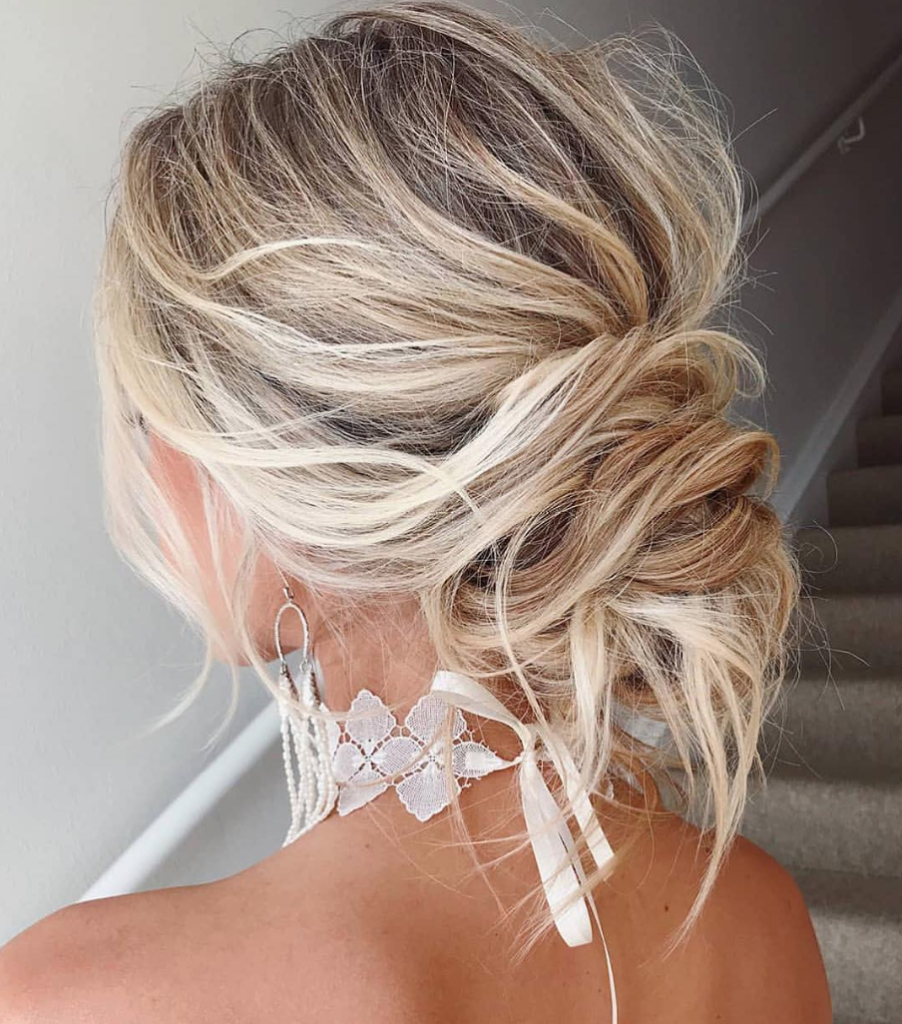
A soft, unstructured knot at your nape. Small pieces pulled out around your face and ears. Romantic and effortless.
The right approach: Second-day hair. A texturizing spray for grip. Bobby pins that match your hair. Twist loosely and pin without pulling tight.
How to describe it: "I want a relaxed low knot at my nape. Soft pieces around my face. Not neat. Not tight. Romantic."
What to skip: A knot that is too tight. That looks severe.
2. The Pulled-Back Top with Loose Ends
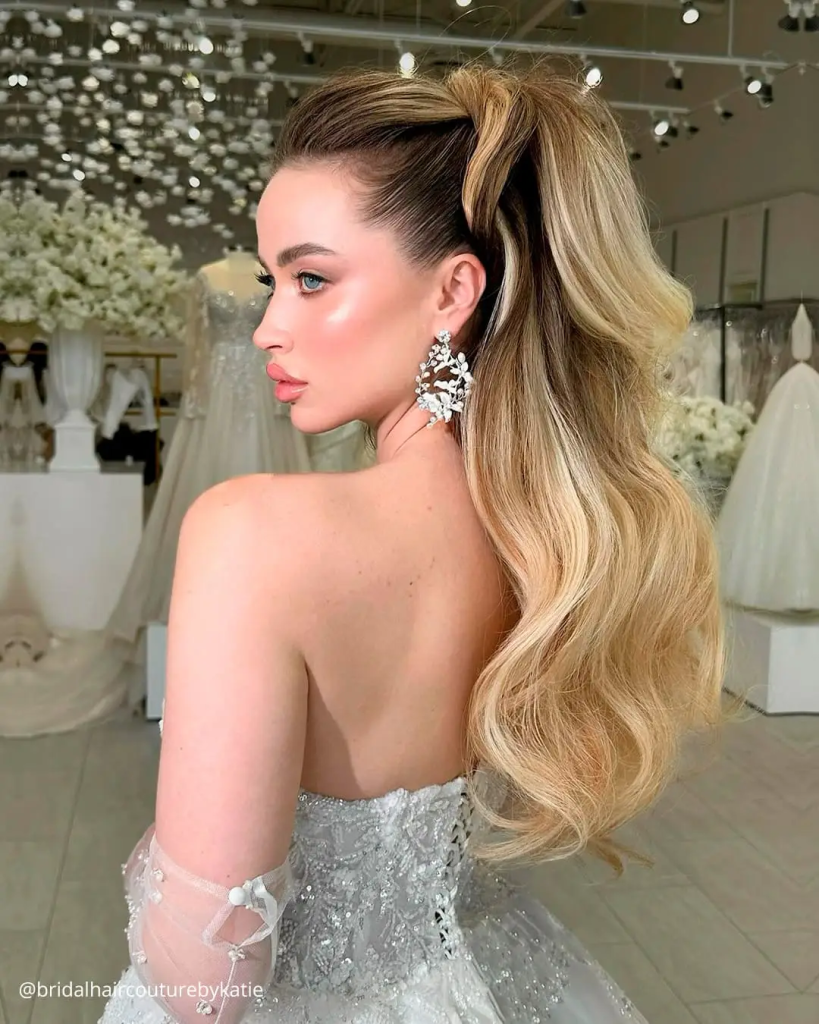
The top half is pulled back. The bottom half hangs loose. Height at the crown adds drama.
The right approach: Tease or backcomb at the crown before pulling back. A small elastic that matches your hair. Curl the loose ends for softness.
How to describe it: "I want a pulled-back top with loose ends. Volume at my crown. Curled ends. The top section should look full."
What to skip: Pulling the top section too tight. That flattens your crown.
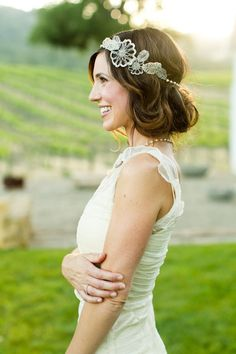
3. The One-Shoulder Sweep

All your hair swept to one side. Soft waves. Pinned discreetly behind one ear.
The right approach: A deep side part. Curl all hair in the same direction. A lightweight hairspray. Pin behind the ear with invisible pins.
How to describe it: "I want a one-shoulder sweep. Deep side part. All hair swept to my left. Soft waves."
What to skip: Waves that are too tight. You want movement, not ringlets.
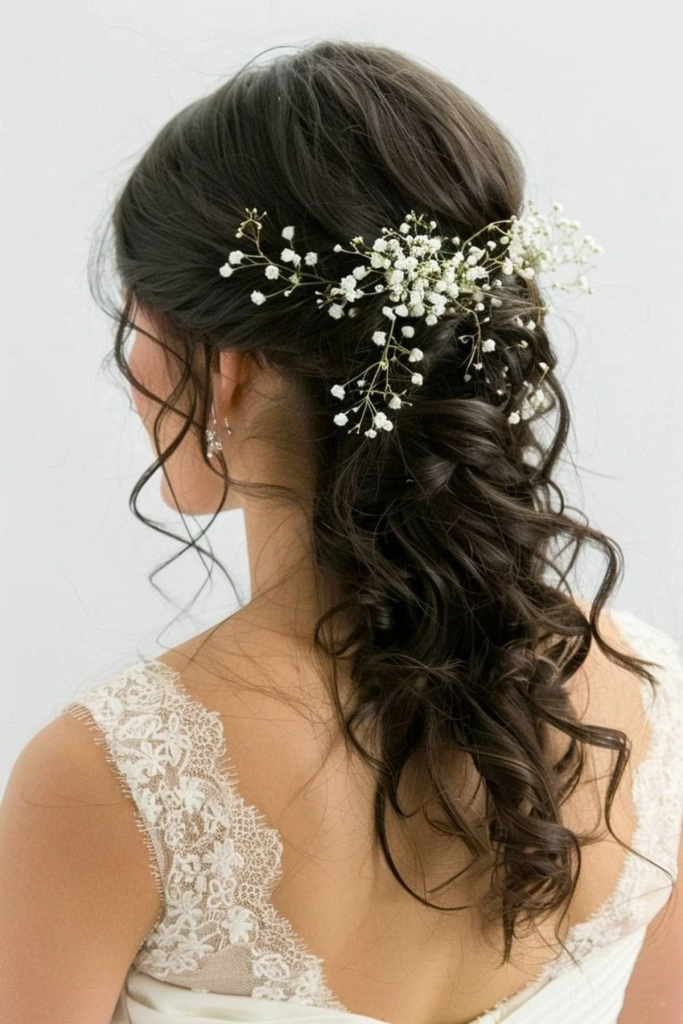
4. The Twisted Crown Half-Up
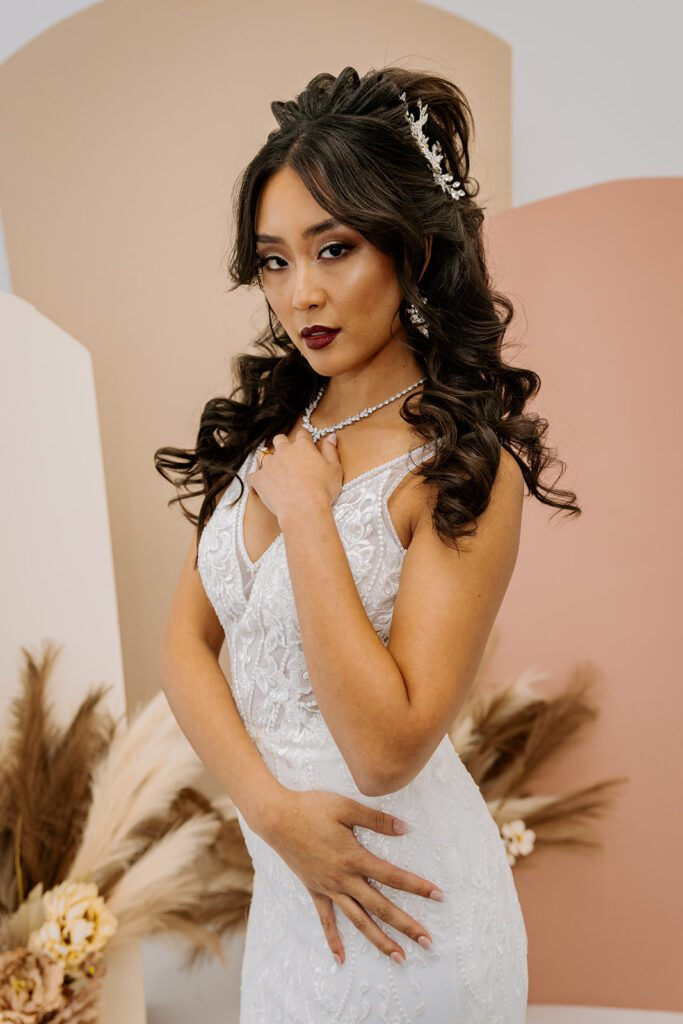
Twist each side of your part before pinning back. Creates a soft, romantic detail at your crown.
The right approach: Take a one-inch section from each side. Twist away from your face. Pin at the back of your crown.
How to describe it: "I want a twisted crown half-up. Twist sections away from my face. Pin at the back of my crown. Soft."
What to skip: Twisting too tight. That creates tension headaches.
5. The Polished Wave Set
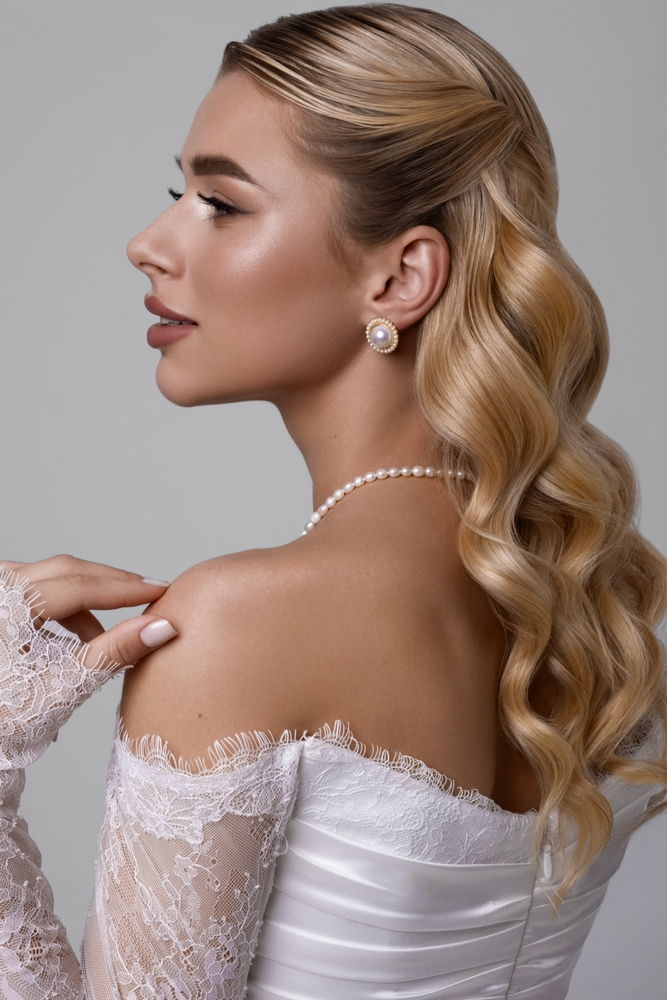
Deep, polished waves that all curve in the same direction. Old Hollywood glamour. Perfect for evening weddings.
The right approach: A curling iron with a one-inch barrel. Curl away from your face on both sides. Brush out the curls gently. A shine spray to finish.
How to describe it: "I want a polished wave set. Deep side part. All waves curving away from my face. Polished."
What to skip: Forgetting to brush out the curls. Unbrushed curls are not waves.
6. The Low Gather with Hidden Band
A sleek, low gather at your nape. A small section of hair wrapped around the band to hide it.
The right approach: Smoothing product to tame flyaways. A small section of hair to wrap the band. Bobby pins to secure the wrap flat.
How to describe it: "I want a low gather with a hidden band. Sleek and smooth. The wrap should hide the band completely."
What to skip: A wrap piece that is too thick. It will look bulky.
7. The Undone Bun with Face Pieces
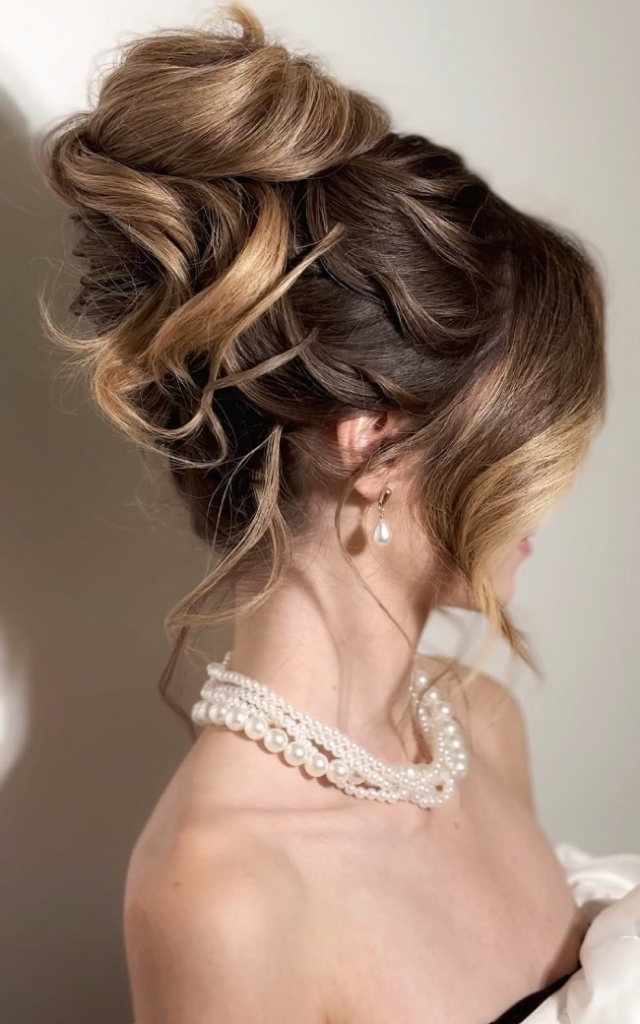
A textured, undone bun at your crown or nape. Soft pieces pulled out around your face. Effortless and cool.
The right approach: A texturizing spray or dry shampoo for grip. Do not comb your hair before making the bun. Pull pieces out after pinning.
How to describe it: "I want an undone bun with face pieces. Loose and textured. Soft pieces around my face. Not neat."
What to skip: A bun that looks like you just rolled out of bed. Intentional mess is different.
8. The Circle Braid Crown
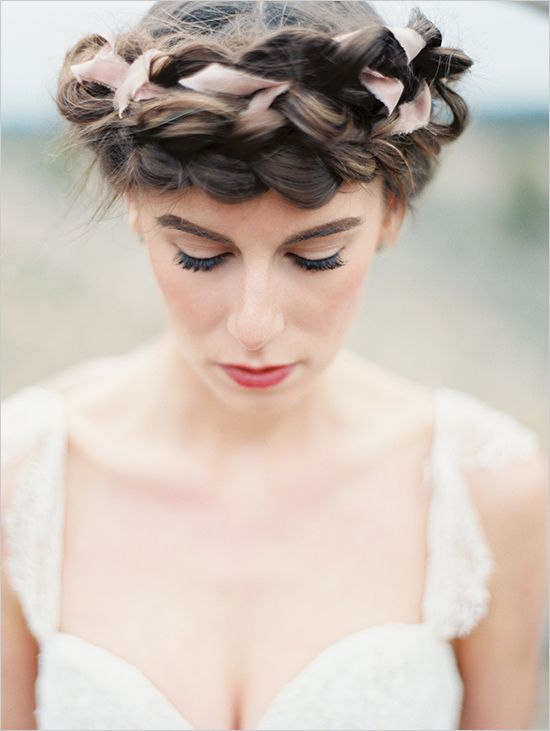
One or two braids pinned across your head like a crown. The rest hangs loose or is pulled into a low bun.
The right approach: Dutch or French braids for grip. Bobby pins that match your hair. A light hairspray to hold the braids.
How to describe it: "I want a circle braid crown. Braid from one temple to the other. Pin across the top like a headband."
What to skip: Braids that are too tight. That will give you a headache.
9. The Textured Low Ballerina
A low, textured knot at your nape. Not smooth. Not neat. Just soft and elegant.
The right approach: Second-day hair. A texturizing spray. Pin the knot in sections, not all at once. Pull small pieces loose.
How to describe it: "I want a textured low ballerina. Soft and loose at my nape. Not smooth. Not neat. Just elegant."
What to skip: A knot that is too tight. That looks like a dance recital.
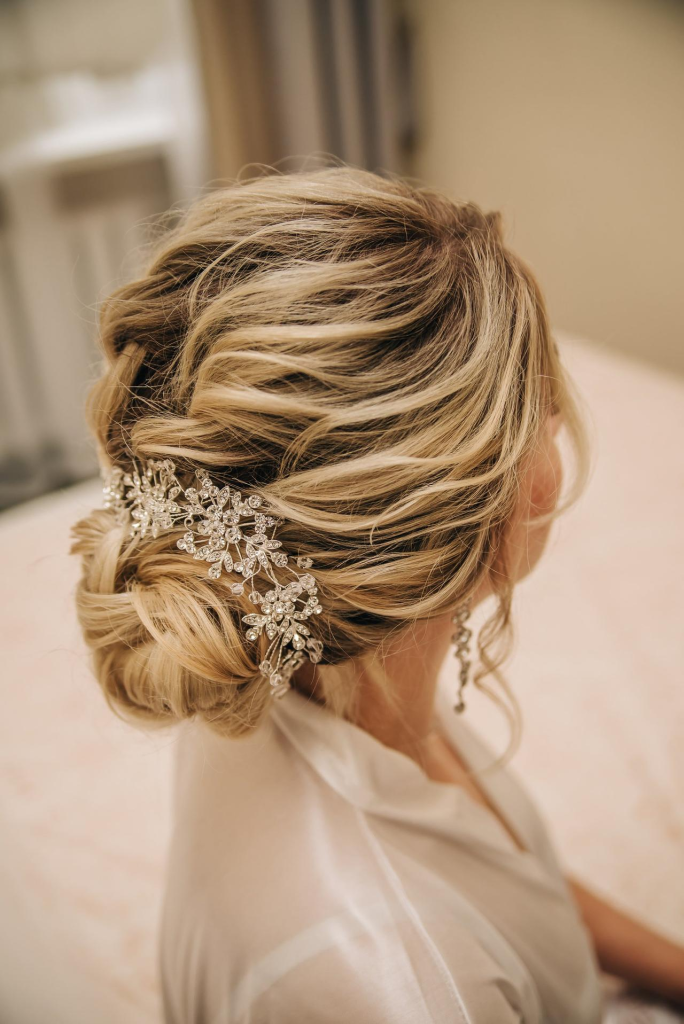
10. The Side Part with Statement Pins
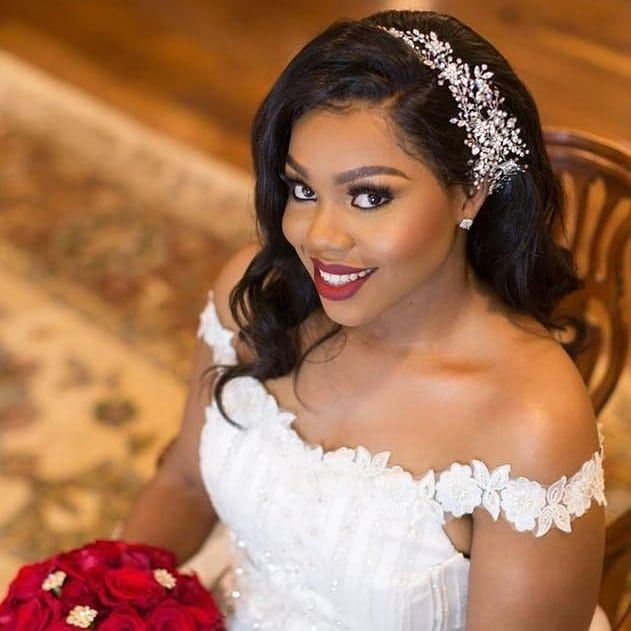
Your hair down, curled or straight. A deep side part. One or two decorative pins on the heavier side.
The right approach: A deep side part (not center). Pins that match your outfit or jewelry. Curled ends for softness.
How to describe it: "I want a side part with statement pins. Hair down. Pins on the heavier side near my temple. Simple but special."
What to skip: Pins that are too heavy for your hair. They will slip.
11. The Segmented Pony
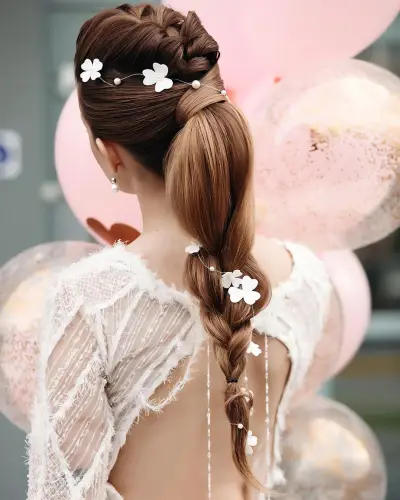
A low or mid pony with small elastics placed every inch. Gently pull each section to create rounded segments.
The right approach: Small clear or hair-colored elastics. Gently tug each section after placing the elastic. Smoothing product for the top.
How to describe it: "I want a segmented pony. Low or mid. Elastics every inch. Gently pull each section to make it round."
What to skip: Elastics that are too tight. They will damage your hair.
12. The Flat Iron Finish
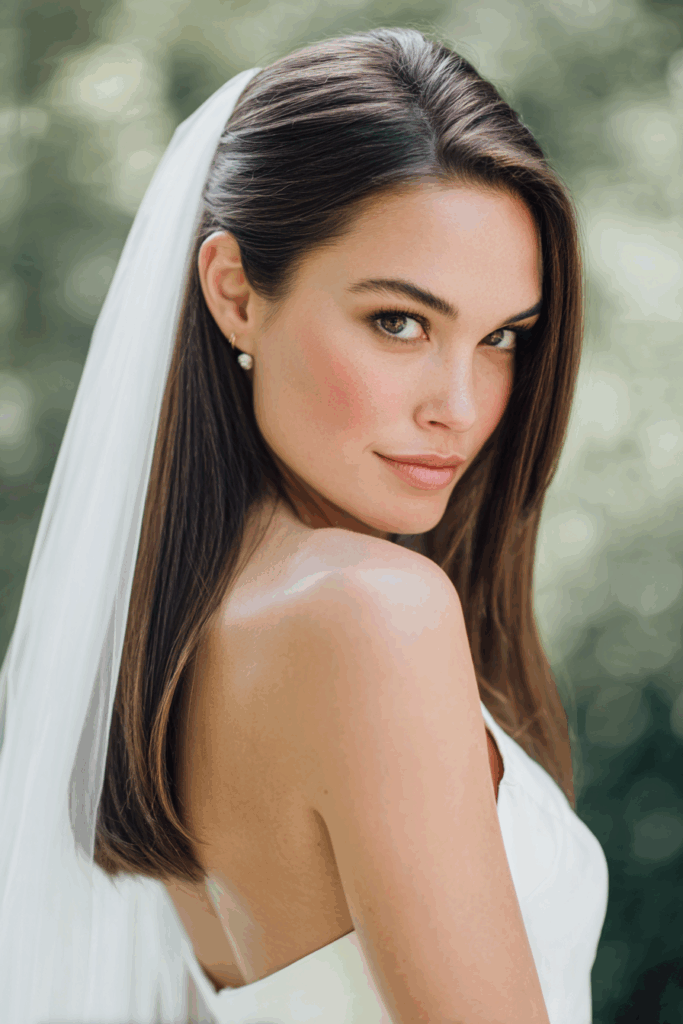
Hair down, perfectly straight. A center or deep side part. High shine. No flyaways. Minimal and modern.
The right approach: A flat iron on clean, dry hair. Smoothing serum or shine spray. Check for flyaways in natural light.
How to describe it: "I want a flat iron finish. High shine. No flyaways. Part down the center or deep to one side."
What to skip: A humid wedding day. Straight hair falls in humidity.
13. The Fake Bob Tuck
Hair down. The ends tucked under and pinned invisibly to create a false bob. Elegant and unexpected.
The right approach: Shoulder length or slightly longer works best. Bobby pins that match your hair. Tuck the ends under and pin from underneath.
How to describe it: "I want a fake bob tuck. Hair down. Ends tucked under and pinned to look like a bob."
What to skip: Pins that show. They should be invisible.
14. The Wrapped Low Style
Wrapped sections of hair pinned into a low, rounded shape at your nape. More structured than an undone bun but still soft.
The right approach: Divide your hair into two or three sections. Wrap each section and pin at the nape. Arrange into a rounded shape. Pull small pieces loose around your face.
How to describe it: "I want a wrapped low style. Wrapped sections pinned at my nape. Rounded shape. Soft but structured."
What to skip: Wraps that are too tight. They should look soft, not rope-like.
15. The Bouncy Blowout
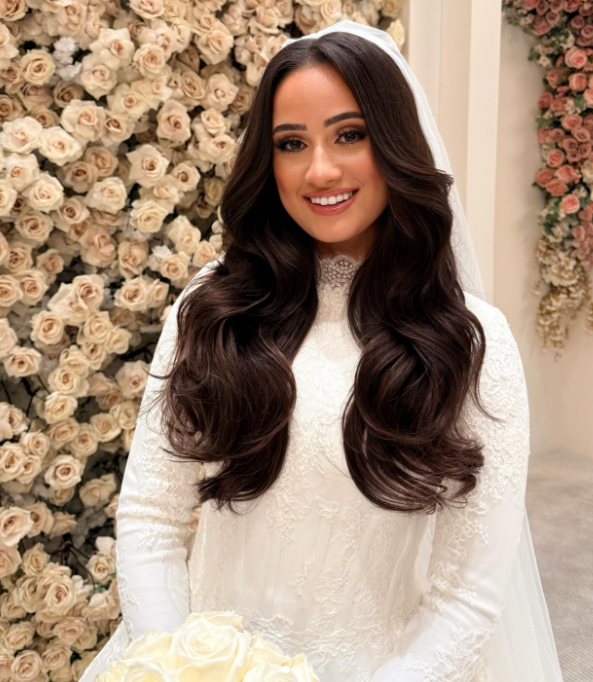
Your hair down, blown out with a round brush for maximum volume at the roots. Ends lightly curled under. Clean and effortless.
The right approach: A round brush and blow dryer. Focus on lifting at the roots. A lightweight volumizing mousse. Curl the ends under with a large iron.
How to describe it: "I want a bouncy blowout. Roots lifted. Ends curled under. Clean and polished but not fussy."
What to skip: Too much product. A blowout should move.
What to Tell Your Stylist
Bring a photo from the 15 above. Say: "I want this style for a wedding. My hair is shoulder length. I need it to last all day."
If you are doing it yourself: Practice twice before the wedding day. Once to figure it out. Once to time yourself.
The Emergency Kit
Pack these in your clutch:
- Bobby pins (extra, matching your hair)
- Mini hairspray (travel size)
- Tissue (for your face, not your hair)
- A small comb (for touch-ups)
You will not need all of it. But you will be glad you have it.
The Final Word
Shoulder length hair is not a limitation. It is the perfect length for wedding styling. Curls hold without falling. Pins stay without slipping. You still look like yourself — just dressed up. Fifteen styles. One of them is yours.
Leave a Reply